Every backyard has a last cookout, and almost nobody knows it's the last one while it's happening. You mean to clean up tomorrow, then it rains for a week, then it's cold, and then it's March and you're lifting the lid on something that smells like a gym bag.
So this is the other way: pick the afternoon on purpose. One dry day, a couple of hours, and the whole outdoor setup goes to sleep properly — the grill clean and covered, the propane tank where it belongs (which is probably not where it is right now), the furniture handled by what it's actually made of, and every cushion bone-dry before it goes anywhere. Spring then starts with a cookout instead of a cleanup. Here's the whole list, grill first.
Step 1
The gas grill: one last deep clean
Winter is when a dirty grill does its real damage. Grease and carbon crust hold moisture against the steel for months, and a grease tray left full is a buffet for mice. So the season ends the same way the monthly deep clean in our gas grill maintenance guide goes — grates out and soaked, flavorizer bars scraped, firebox scraped down, grease tray emptied and washed, exterior wiped. I won't repeat all of it here; that article has the full top-down order. The difference at season's end is just thoroughness: this time, leave nothing in the firebox, because nothing is coming along to burn it off.
A few extras that only matter when the grill is about to sit for months:
- Oil the grates before they go back. Cast iron especially — a thin wipe of high-heat oil on clean, dry grates is what keeps them from coming out orange in April. Porcelain-coated grates just need to be clean and dry.
- Check the burners while they're out. If the ports are clogged or the flame was going yellow in late summer, brush them now.
- Block the spiders. The venturi openings — the air intakes where the burner tubes meet the valves — are the spiders' favorite winter rental. Clear them, then tape a small plastic bag over the burner intakes and the gas inlet if the grill will sit unused all winter. Take it off in spring before you light anything.
Step 2
The propane tank: outside, upright, valve closed
This is the one part of this article that's genuinely about safety rather than about your stuff lasting longer, so let's be clear about it: a propane tank is stored outdoors. Not in the garage, not in the basement, not in the house, not in the crawl space. That goes for tanks that are empty, too — the propane industry and state LP-gas regulators treat any tank that has ever held propane as a tank that still might.
The reasons are simple physics. Propane vapor is heavier than air, so a small leak doesn't drift away indoors — it sinks and pools along the floor, which is exactly where the water heater pilot, the furnace, the freezer compressor, and the car live in a garage. Outside, the same small leak disperses harmlessly. And cold doesn't hurt a tank; propane is perfectly happy sitting outside through a normal winter. Heat is the actual enemy, because pressure in the tank climbs as it warms up.
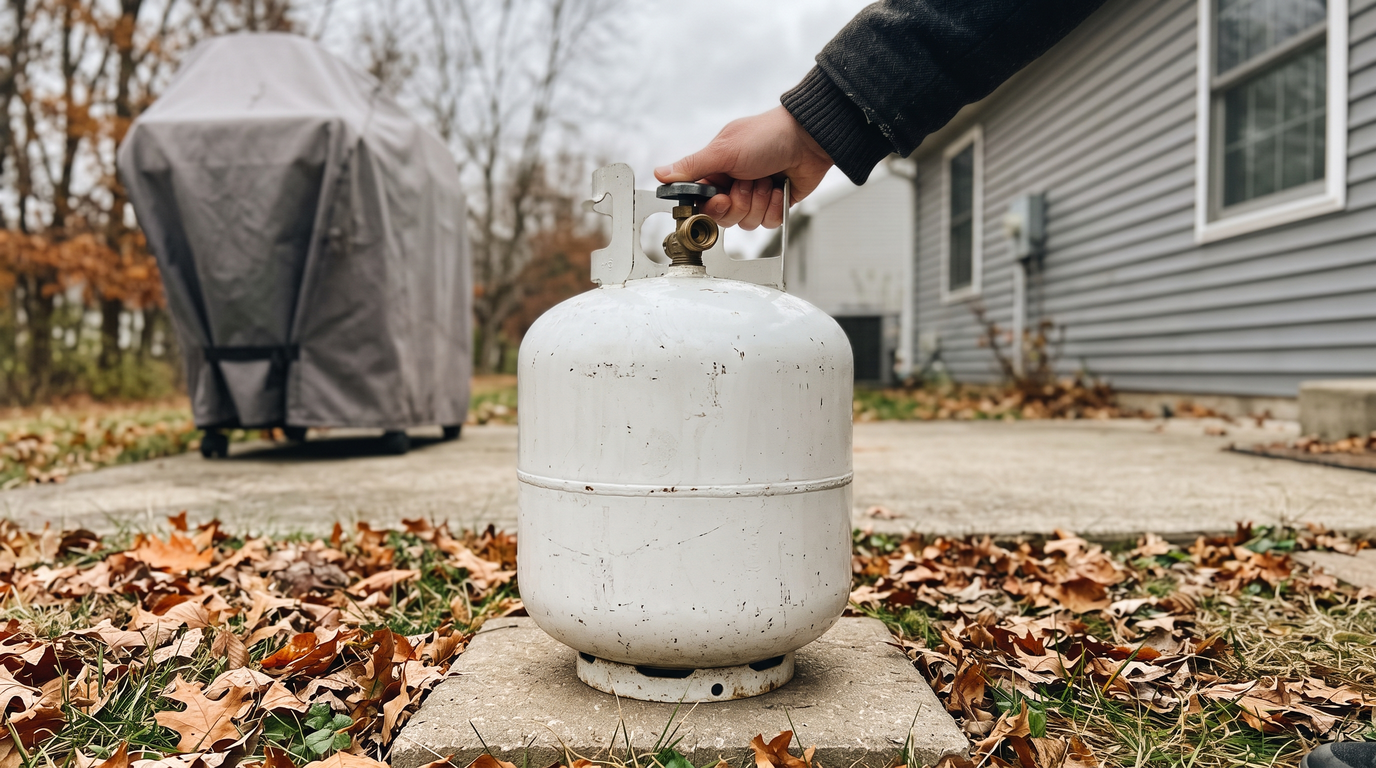
The winter rules for the tank, all of them:
- Close the tank valve — clockwise, hand-tight — whether the tank stays on the grill or not.
- Keep it upright, standing on its foot ring on something solid and level — a paver, a patio slab, a scrap of board. Never on its side.
- Keep it away from the house's openings: doors, windows, dryer vents, furnace and water heater intakes. Somewhere out of the way where it won't get knocked over and kids won't play with it.
- If the grill stays outside under a cover, the tank can stay connected with the valve closed.
- If the grill goes into the garage or shed, disconnect the tank first and leave the tank outside. The grill can come in; the tank can't.
- If your tank's valve came with a plastic cap or plug, put it back on once the tank is disconnected. Some states require it on older-style valves, and it keeps grit and bugs out of the threads either way.
The shed question
Some propane retailers call a detached shed an acceptable fallback; state LP-gas regulators say no sheds, full stop. When sources disagree about something that can explode, take the conservative answer: open air, away from the house. A tank doesn't need shelter from winter, and a closed shed is exactly where a slow leak builds up.
Natural gas grill? Your version is easier. Turn every burner knob off, then close the shutoff valve on the gas supply line that feeds the grill. If your grill connects with a quick-disconnect hose, disconnect it and cap it the way the manufacturer's manual describes. What you don't do is unpipe a hard gas line yourself — if the grill has to move and it's plumbed in, that's a job for whoever installed it.
Step 3
Charcoal kettles and pellet grills
Charcoal grills are the easy case. Empty every bit of ash — ash soaks up moisture and holds it against the bottom of the bowl all winter, which is how kettles rust through from underneath. Make sure it's completely cold first (more on that under fire pits), scrape the grate, wipe the inside of the bowl and lid, and leave the vents slightly open so air can move. Leftover charcoal goes into a lidded bin rather than a torn paper bag; damp charcoal is miserable to light.
Pellet grills have one winter rule that beats all the others: empty the hopper, and run the auger dry. Wood pellets are compressed sawdust, and when they pick up moisture from humid air or condensation inside the hopper, they swell, crumble, and pack into something close to cement. That mush jams the auger, and an auger jam is a real repair, not a quick fix. Scoop or dump out what you can, then vacuum out the bottom of the hopper and the firepot — many grills have a prime or feed function that pushes the last pellets out of the auger tube so you can vacuum those too. Store leftover pellets in a sealed, airtight container, not the open bag. Then unplug the grill, clean out the firepot ash, and empty the grease bucket — a pellet grill's electronics make a well-fitted cover matter more than on any other grill.
Step 4
Cover it outside, or store it inside?
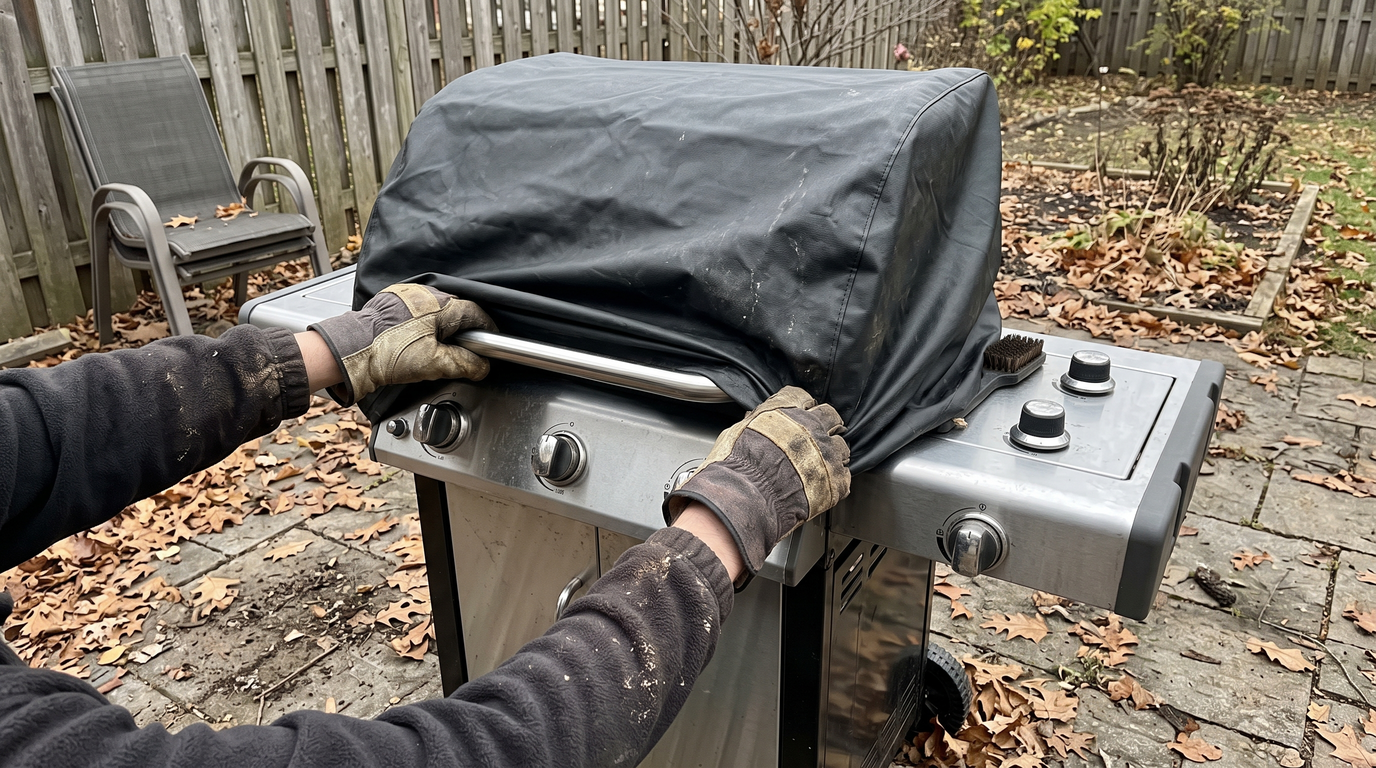
Both work. What doesn't work is the in-between — a grill left uncovered on the patio, or a cover pulled over a grill that's still wet from the cleaning. The cover rule from the maintenance guide goes double in winter: cover it cool, cover it dry. A cover over a damp grill is a terrarium, and you'll lift it in spring to a fine coat of rust.
- Staying outside: a fitted, vented heavy-duty grill cover with straps or a drawstring so winter wind can't turn it into a sail. Park the grill off the wettest spot on the patio, and away from where snow slides off the roof.
- Going inside: tank off and left outdoors first, then the grill into the garage or shed. Keep a cover on it anyway — garages are dusty, and a grill that smells faintly of bacon is an open invitation to mice. Check on it once midwinter.
Step 5
Patio furniture, by material
"Outdoor furniture" covers everything from cast aluminum that shrugs off anything to natural wicker that unravels by spring if it stays out. Every piece gets the same first step — wash it with mild soapy water, rinse, and let it dry completely — then it goes where its material says:
For anything staying out, use breathable, vented patio furniture covers that reach close to the ground and cinch at the bottom. Plastic tarps are worse than nothing — they trap condensation and shred in the first windstorm. And a couple of scrap wood blocks under the legs keep any piece out of puddles.
Stack and bundle
Push a table to the middle, stack the chairs around it, and put one big cover over the whole group. It's cheaper than four small covers, far less likely to blow away, and it means spring setup is pulling off one cover instead of hunting for four.
Step 6
Cushions and umbrellas: dry means dry
Mildew is the reason people buy new cushions every other spring, and mildew happens for exactly one reason: something went into storage damp. A cushion can feel dry on the surface and still be wet in the foam core for days. So clean them — soapy water and a soft brush, or pop the covers in the wash if they're removable — then dry them standing on edge in the sun and wind for as long as it takes. If you're not sure, give it another day. Then, and only then, they go away.
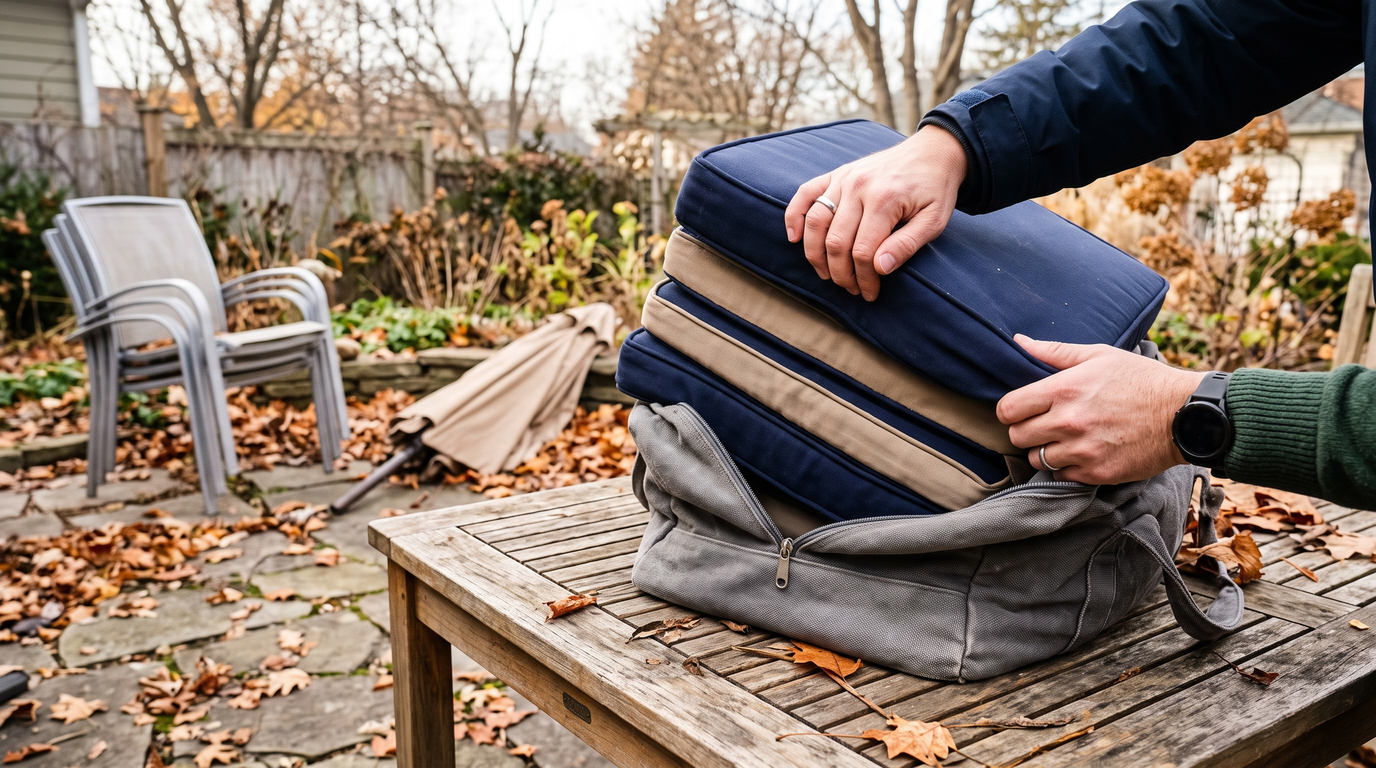
The best place for cushions is inside the house or a dry garage, in breathable cushion storage bags that keep dust and critters out without trapping moisture. Sealed plastic bags and trash bags are a mildew incubator — skip them. A deck box works if you don't have the space indoors, but most deck boxes are water-resistant rather than waterproof, and condensation builds up inside them over a winter. Put the cushions in dry, keep the box off the ground and out of the downspout's splash zone, and toss in a moisture-absorber tub.
The umbrella gets the same treatment: open it on a dry day, brush off dirt and bird evidence, let it dry fully open, then close it, strap it, and store it lying down indoors — in its bag if it came with one. An umbrella left standing outside all winter is one gust away from taking the table with it. If the base is the fill-with-water or sand kind, empty the water before it freezes; a plastic base full of ice can crack.
Step 7
Fire pit and outdoor rugs
Wood-burning fire pits: the one hard rule is that ashes are never as cold as they look. Coals buried in ash can stay hot for a long time after the fire looks dead, so shovel the ash into a metal can with a lid, set it on bare ground or concrete away from the house and deck, and wet it down. Never into a paper bag, a plastic bin, or the trash. Once the pit is empty and cold, cover it or tip the bowl so it doesn't collect rainwater and snowmelt — standing water is what rusts a steel pit through from the bottom.
Propane fire pits and patio heaters follow every tank rule from Step 2 — valve closed, tank outdoors and upright. Cover the burner so water and debris don't get into it, and put the fire glass or lava rock in a bucket if it's likely to sit in standing water.
Outdoor rugs: pick them up. Hose them off, let them dry completely — both sides — then roll them (don't fold; folds become permanent creases) and store them indoors. Leaving a rug down on a wood deck over the winter traps moisture against the boards, and that's how you undo a finish you just paid for in time and sweat — the deck staining guide makes the same point about rugs and planters.
What not to do
- Don't bring the propane tank into the garage, basement, or house. Not for the winter, not "just for a few weeks," and not an empty one. It lives outdoors, upright, valve closed.
- Don't cover anything wet. Grill, furniture, fire pit — a cover over a damp surface traps the water in. Clean, dry, then cover.
- Don't leave pellets in the hopper. Moisture turns them to mush, and mush jams the auger.
- Don't store cushions in sealed plastic. Trash bags and airtight tubs hold moisture in with nowhere to go. Breathable bags, dry cushions.
- Don't dump fire pit ash in a paper bag or the trash. Metal can, lid on, wet it down, away from the house.
- Don't use a plastic tarp as a furniture cover. It sweats underneath and blows away by January.
- Don't forget to take the bags off the burner intakes in spring. Stick a note to the grill handle under the cover so April-you remembers.
Upgrade next season (while you're thinking about it)
Closing the season is the most honest moment of the year to judge your setup, because every summer annoyance is still fresh. Write them down now, before winter sands the edges off.
If the itch is low-and-slow cooking, the smoker buying guide for first-timers walks through which type of smoker fits how you'd actually use it — the winter is plenty of time to decide calmly. If you're rethinking the grill itself, the gas vs. charcoal vs. pellet comparison and the grill picker will get you to a straight answer. And if the patio as a whole felt unfinished this summer, the outdoor living upgrades list is a good place to start making a spring plan.
Close it out
That's the whole afternoon. It's not glamorous, and nobody will notice it's done — which is sort of the point. The payoff is a warm Saturday next April when you pull off one cover, take the bag off the burners, open the tank valve, and the grill lights on the first click.
The rest of the yard is on the same clock this time of year — the fall lawn care window is closing too, and the September checklist has the house side of the wind-down. Knock them out on the same weekend and the whole place goes into winter ready.