Two neighbors buy the same $500 gas grill in the same May. One is on the curb with a rusted-out firebox before the third summer ends. The other is still lighting on the first click twelve years later. The difference isn't the grill, and it isn't luck — it's about ten minutes a month, applied to the right parts.
Grills don't die of old age. They die of grease that never gets emptied, moisture that never gets wiped, and — genuinely — spiders that move into the burner tubes. All three are preventable, none of it is hard, and most of it happens while the food rests. This is the whole routine: what to do after every cook, what to do monthly, and the twice-a-season checkup that catches the problems worth catching.
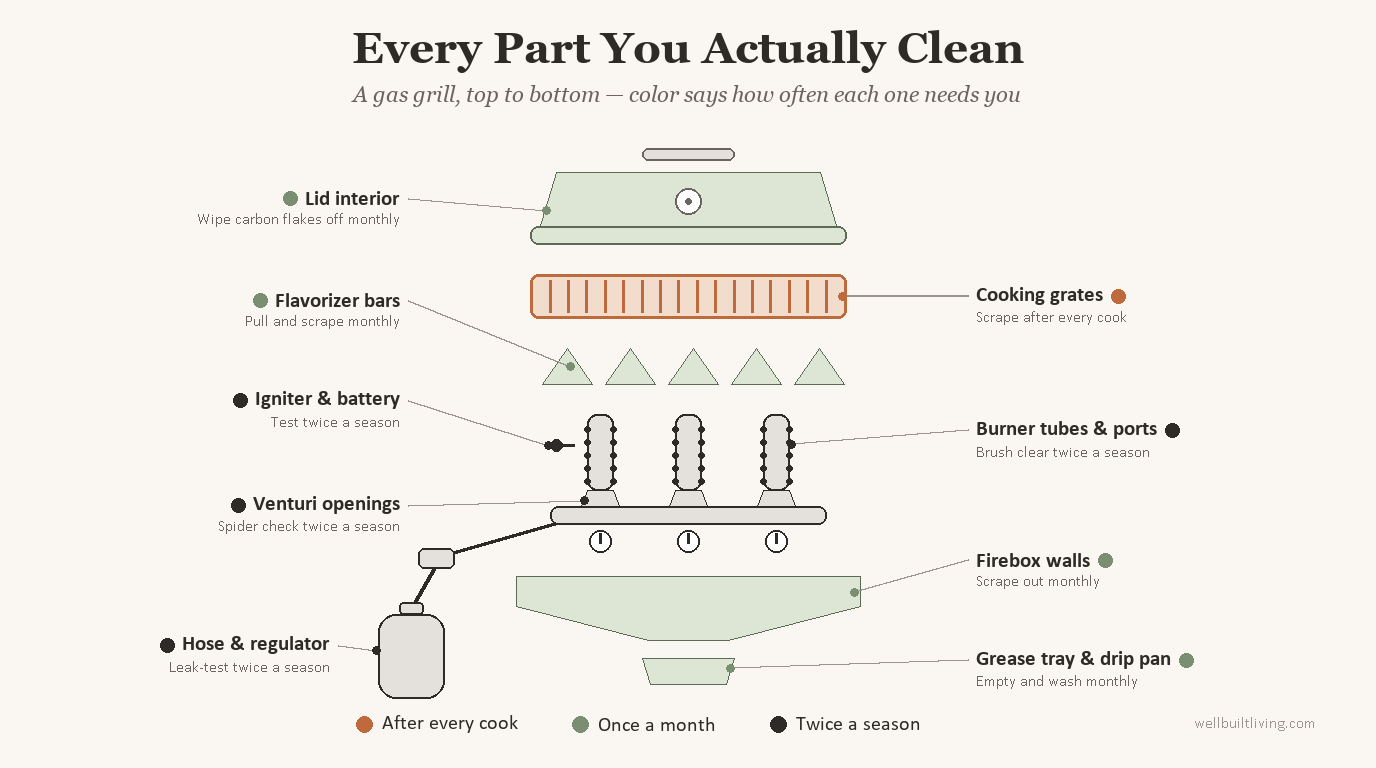
First, know what you're working with. From the top down, every gas grill is the same sandwich: grates you cook on, a row of angled bars that shield the flames (Weber calls them flavorizer bars; everyone else says flame tamers or heat plates), the burner tubes themselves, and a firebox that slopes everything it catches down into a grease tray. Each layer collects a different kind of grime, and each one is on its own clock.
Step 1
After every cook: the two-minute habit
When the food comes off, don't turn the grill off. Turn it up. Five minutes on high with the lid closed carbonizes whatever's stuck to the grates — the same self-cleaning logic as a pyrolytic oven, minus the button.
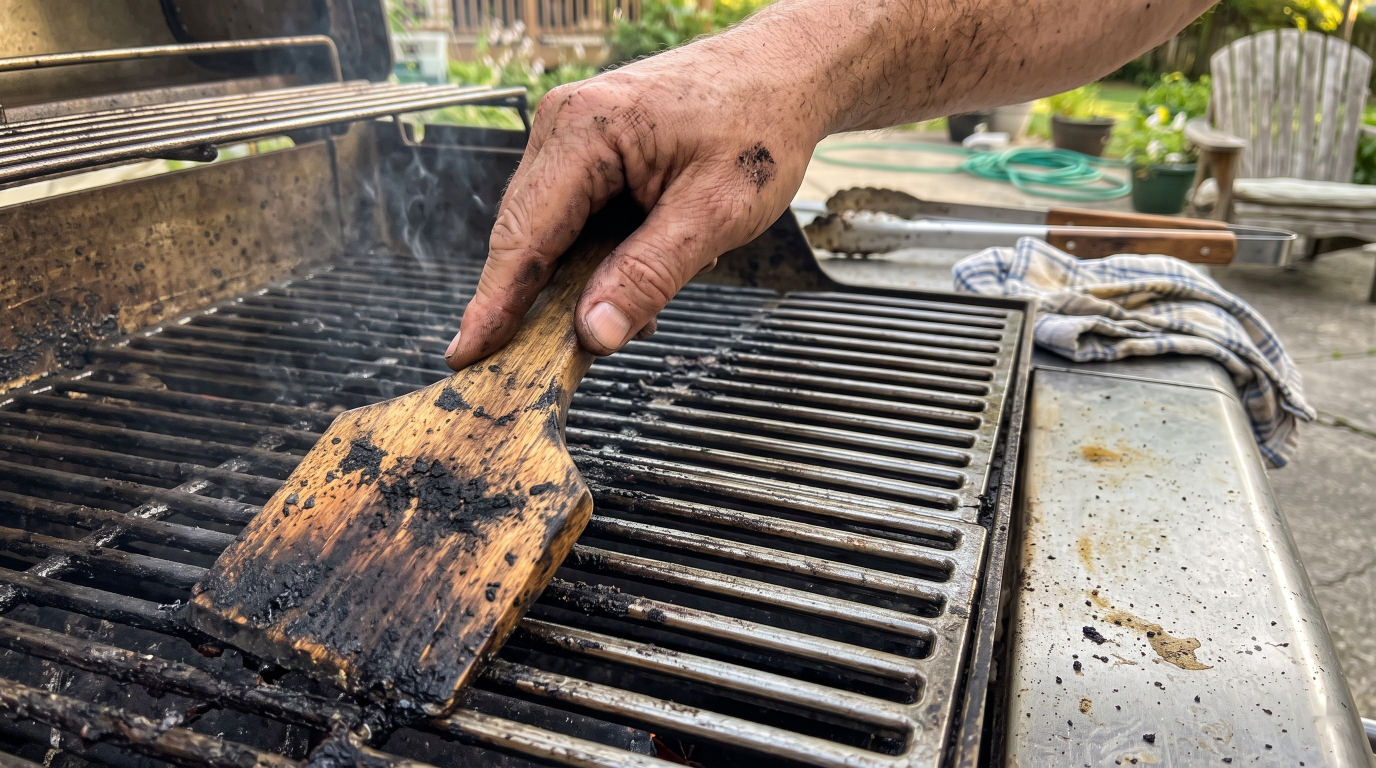
Then scrape the grates while they're still hot, because carbonized residue comes off hot grates in seconds and comes off cold grates on Saturday, with resentment. Use a bristle-free brush or a wooden scraper — more on why the classic wire brush is retired in a minute.
Last, burners off, and close the valve on the tank itself. It takes three seconds, it stops the slow leaks that drain a tank over a winter, and it means every cook starts from a known-good state. That's the entire after-cook routine — it fits inside the time the meat is resting anyway.
Make it automatic
Chain it to something you already do: food comes off, burners go to high, and by the time the platter is on the table and you come back for the sauce, the burn-off is done. The routine that survives is the one that doesn't need remembering.
Step 2
Once a month: the fifteen-minute deep clean
Once a month during grilling season, let the grill cool completely and take it apart from the top down. Everything you remove goes back in the same order, so there's nothing to get wrong.
Grates out first. Soak them in warm soapy water while you do everything else — a bin or a utility sink beats the kitchen sink for marital reasons. Scrub with a nylon pad, not steel wool; porcelain-coated grates chip, and chipped porcelain rusts from the inside out. Dry them fully and, if they're cast iron, wipe a thin coat of high-heat oil on before they go back.
Flavorizer bars next. Lift them out and scrape both faces with a putty knife or the edge of your scraper. They don't need to gleam — they need to be free of the carbon crust that traps moisture against the metal, because that crust is what rusts them thin.
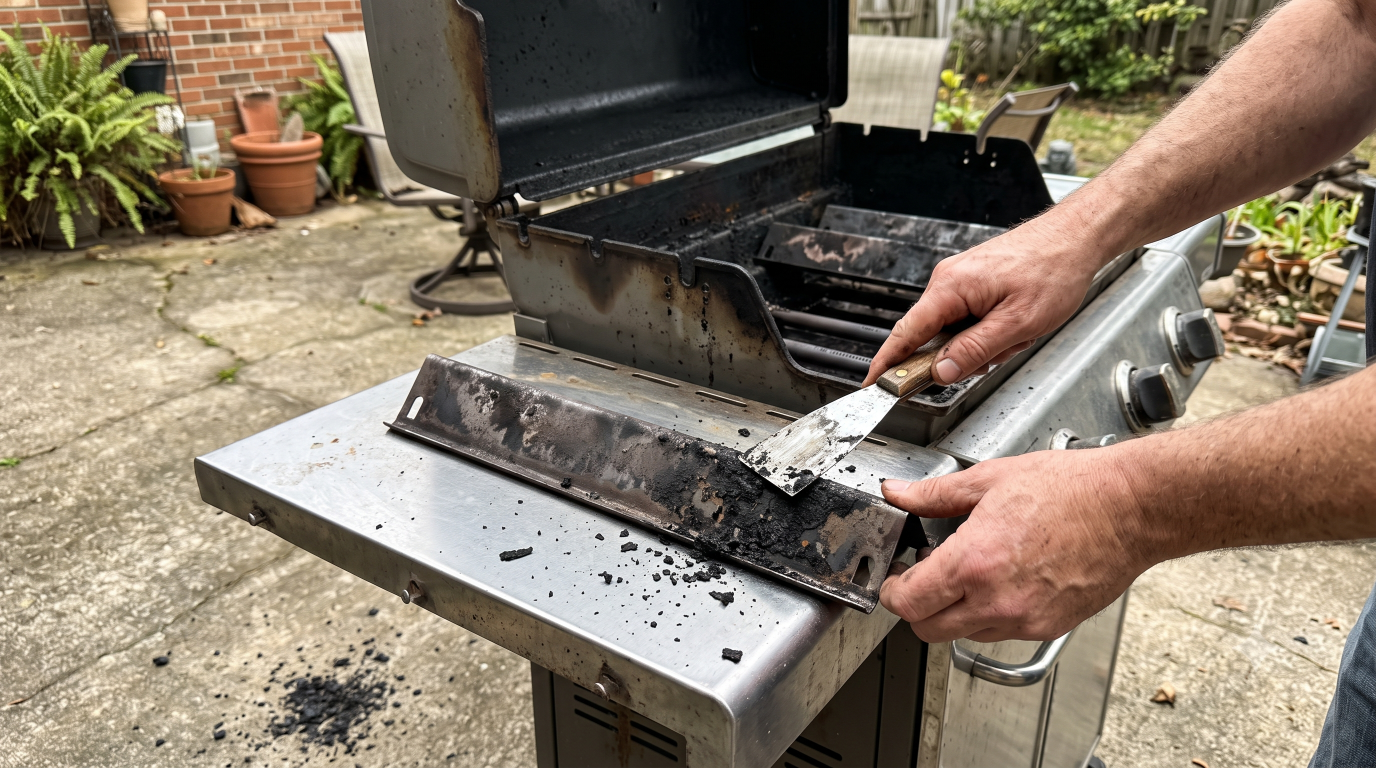
Then the grease system, which is the part that matters most. Scrape the firebox walls down into the slope with the putty knife, push everything into the grease tray, then pull the tray and empty it. Wash the drip pan with soapy water, or skip the washing entirely with disposable drip pan liners — a few dollars for a season of not scrubbing grease.
Why the tray is non-negotiable
A full grease tray is the leading cause of grill fires. Not lighter fluid, not gas leaks — accumulated grease, one flare-up away from a fire you can't turn off by closing the valve. If you skip everything else in this section, empty the tray.
Finish with the outside. Wipe the lid inside and out — those black flakes that look like peeling paint are carbonized grease, harmless but ugly, and a damp cloth takes them off. For a stainless exterior, use a stainless cleaner and wipe with the grain, not in circles.
Step 3
Twice a season: the thirty-minute checkup
Twice a season — once around opening weekend, once mid-summer — three things need a look. This is the section that separates grills that limp along from grills that hit double digits, and it's also where the safety items live.
Burner tubes. If the flame has gone yellow, lazy, or uneven — hot on one side, cool on the other — the burner ports are clogging. Brush along each tube with a grill brush or a bottle brush, working across the port holes rather than down the length of the tube, so you're clearing debris out of the ports instead of dragging it along them. Stubborn ports open up with a toothpick or a straightened paper clip.
The venturi openings — this is the spider part. Where each burner tube meets the control valve there's an air intake, and spiders love it: dark, sheltered, exactly web-sized. A web in a venturi chokes the air supply, which causes weak yellow flames at best and, at worst, flashback — gas igniting behind the control panel instead of at the burner. If the grill sat unused for more than a few weeks and now lights unevenly, this is the first place to look. Pull the burners once a season and clear the openings with a pipe cleaner or bottle brush.
The igniter. If it clicks but doesn't light, it's almost always the battery — usually a single AA hiding under the igniter button cap. Swap it once a season and you'll likely never meet the matchstick hole on the side of the firebox.
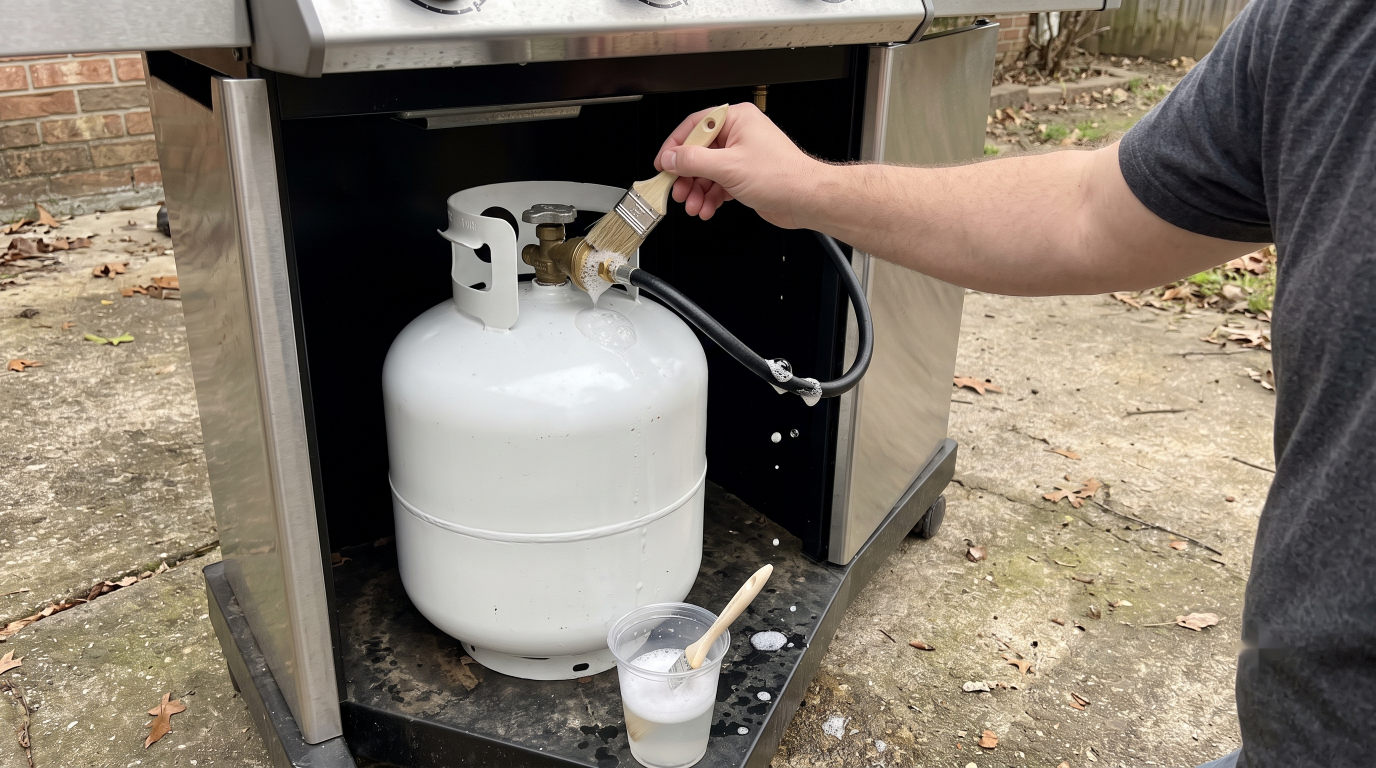
And the leak test, which takes five minutes and is the one genuinely-about-safety item here. Mix a squirt of dish soap into half a cup of water. With the tank valve open and the burners off, brush the solution over the hose, the regulator, and both connections. Growing bubbles mean escaping gas. Small leaks at the tank connection usually just need the coupling re-seated and tightened; a hose or regulator that bubbles gets replaced, not taped. They're a standard $20 part, and regulators are designed to be swapped every ten years or so anyway.
Rust, and the truth about covers
You'll find people online swearing covers cause rust, and they're half-remembering something real: a cover pulled over a wet grill traps that moisture against steel for days. That's a usage error, not an argument against covers. The rule is simple — cover it cool and cover it dry, and a $30 cover is the single cheapest thing you can do for the grill's lifespan. Weather is what turns a ten-year grill into a four-year grill.
Beyond the cover: keep the grill off the wettest spot on the patio, don't let leaves compost in the cart over fall, and deal with surface rust the day you notice it — a wire pad on raw steel spots, then a dab of high-heat paint. Surface rust is cosmetic; ignored rust is structural.
One storage note that's about your house rather than the grill: the propane tank lives outdoors, upright, and never in the garage. Tanks vent small amounts of gas as they warm, and propane is heavier than air — it pools at floor level, which is exactly where garage water heaters and freezer compressors spark.
Replace parts, not the grill
Here's the arithmetic the grill aisle would rather you not do. When a five-year-old grill starts cooking badly, the cart, lid, firebox, and frame are almost always fine — it's the hot-path parts that wear: grates, flavorizer bars, burners. All of them unbolt or lift out, and all of them are cheap relative to starting over.
A grill that's cooking badly at year five usually needs $60–120 of parts, not $500 of grill. Search your model number — it's on a sticker inside the cart door or on the back panel — plus the part name, and measure before ordering; "universal" burners fit universally badly. Fifteen minutes with a socket wrench and the thing cooks like it did the day it came home.
What not to do
Grill-cleaning folklore is full of shortcuts that cost more than they save. The short list of things to skip:
- Wire-bristle brushes. Bristles break off, stick to the grate, and end up in food — an estimated 1,700 Americans went to the ER for swallowed bristles between 2002 and 2014, per Consumer Product Safety Commission data. A bristle-free coil brush, a wooden scraper, or a balled-up sheet of foil held in tongs does the same job without the failure mode.
- Oven cleaner. Fine on bare cast-iron grates; ruinous on painted lids, stainless, and anything with a coating. The overspray strips paint and leaves streaks the grill will wear forever.
- Pressure washing the control panel. Water drives straight into the valves, igniter wiring, and (on newer grills) electronics. Hose the cart if you must — keep pressure away from anything with a knob.
- Running grates through the dishwasher. Strips the seasoning off cast iron, rusts the racks, and coats the machine's interior in grease that ends up on your glasses.
- Lining the firebox with foil. It blocks the grease path to the tray, which is how you build the exact fire hazard the tray exists to prevent.
The whole routine on one card
That's genuinely all of it. Two minutes while the food rests, fifteen once a month, thirty twice a season — less time per year than one trip to buy a replacement grill, which is the errand this routine exists to cancel.
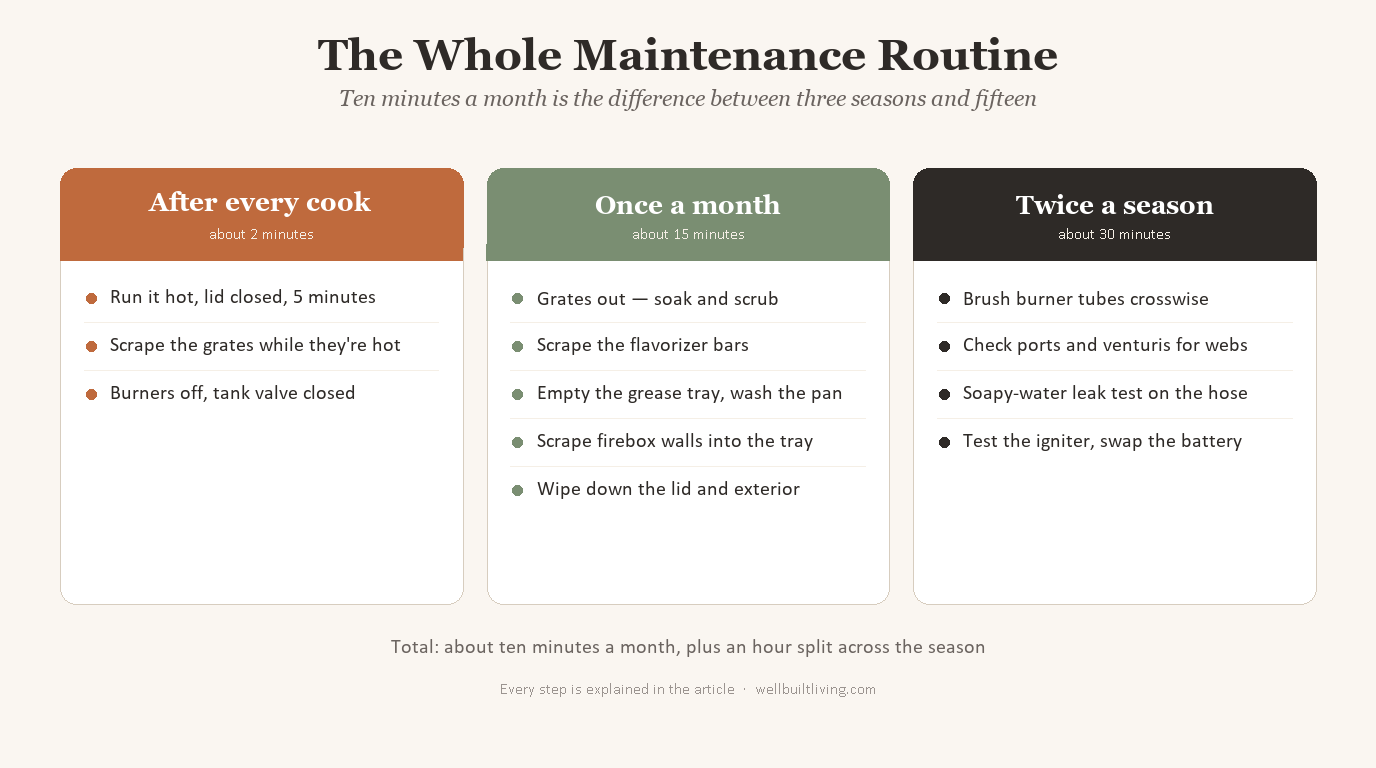
Save the card, stick it on the fridge or inside the grill cart door, and the routine runs itself. If you're still deciding what to cook on in the first place, our gas vs. charcoal vs. pellet comparison covers which fuel actually fits how you cook, and the grill picker will give you a straight answer in six questions. And when the season winds down, the same ten-minute logic applies to the rest of the house — the monthly maintenance checklist is where this habit scales up.
The ten-year grill isn't a better grill. It's the same grill, owned by somebody who empties the tray.