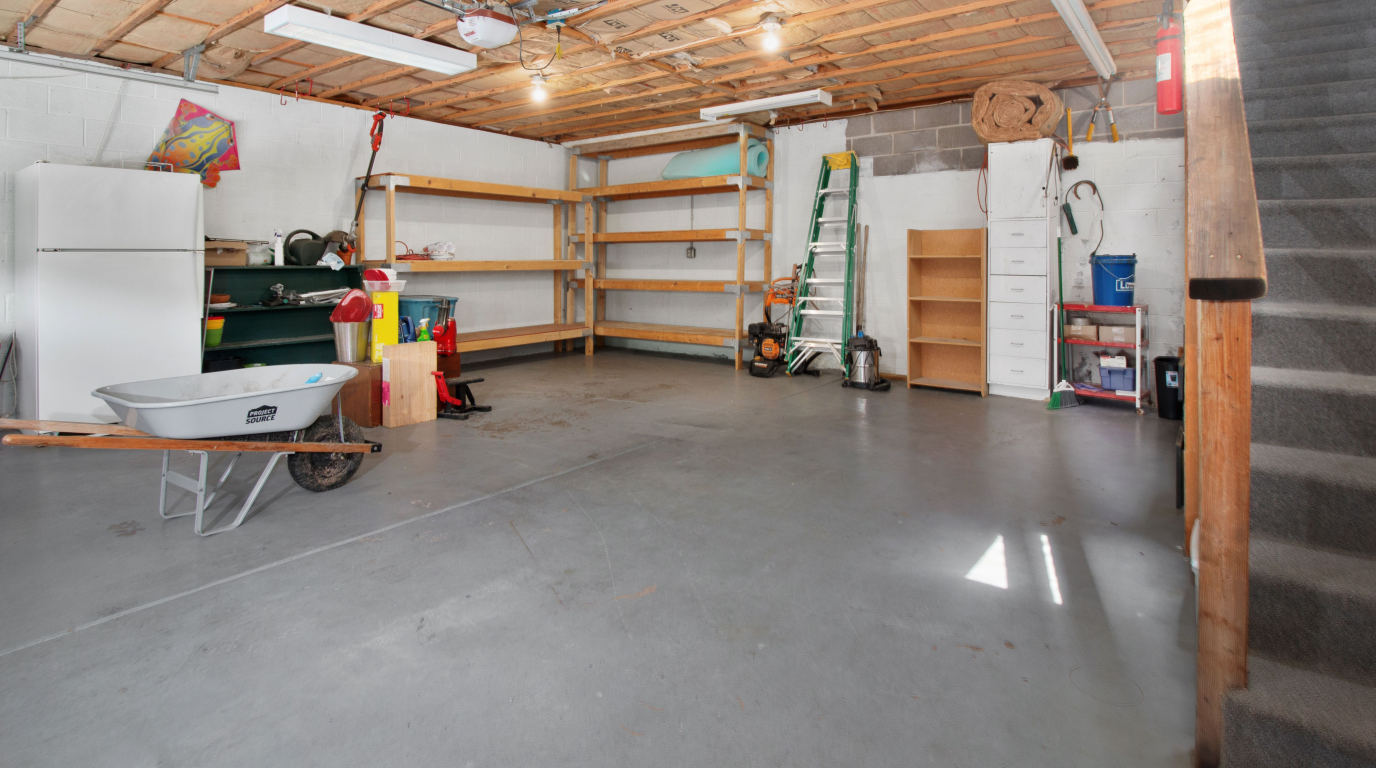
For three years, my garage held exactly zero cars. It held bikes nobody rode, a snowblower in July, six half-empty bags of mulch, a leaning tower of Amazon boxes I was "going to break down," and a lawn mower I had to perform surgery on the rest of the pile to reach. Every spring I'd tell myself I was going to fix it, price out one of those gleaming slatwall-and-cabinet systems online, see the $4,000 total, and quietly close the tab. The garage stayed a disaster for one reason: I thought organizing it required a budget I didn't have.
It doesn't. I eventually cleared mine in a single weekend for about $140, and the thing I wish someone had told me at the start is that a garage isn't a storage problem — it's a systems problem. The expensive cabinet systems sell you storage you mostly don't need. What you actually need is to get everything off the floor, group it so you can find it, and put it in containers that don't fall apart. That's it. Here's the whole playbook.
The one-sentence version
Clear the floor by moving everything onto the walls and ceiling, group what's left into zones, and store it in clear labeled bins. Everything below is just the detail on those three moves.
Step 1
Empty It Completely (The Part Everyone Skips)
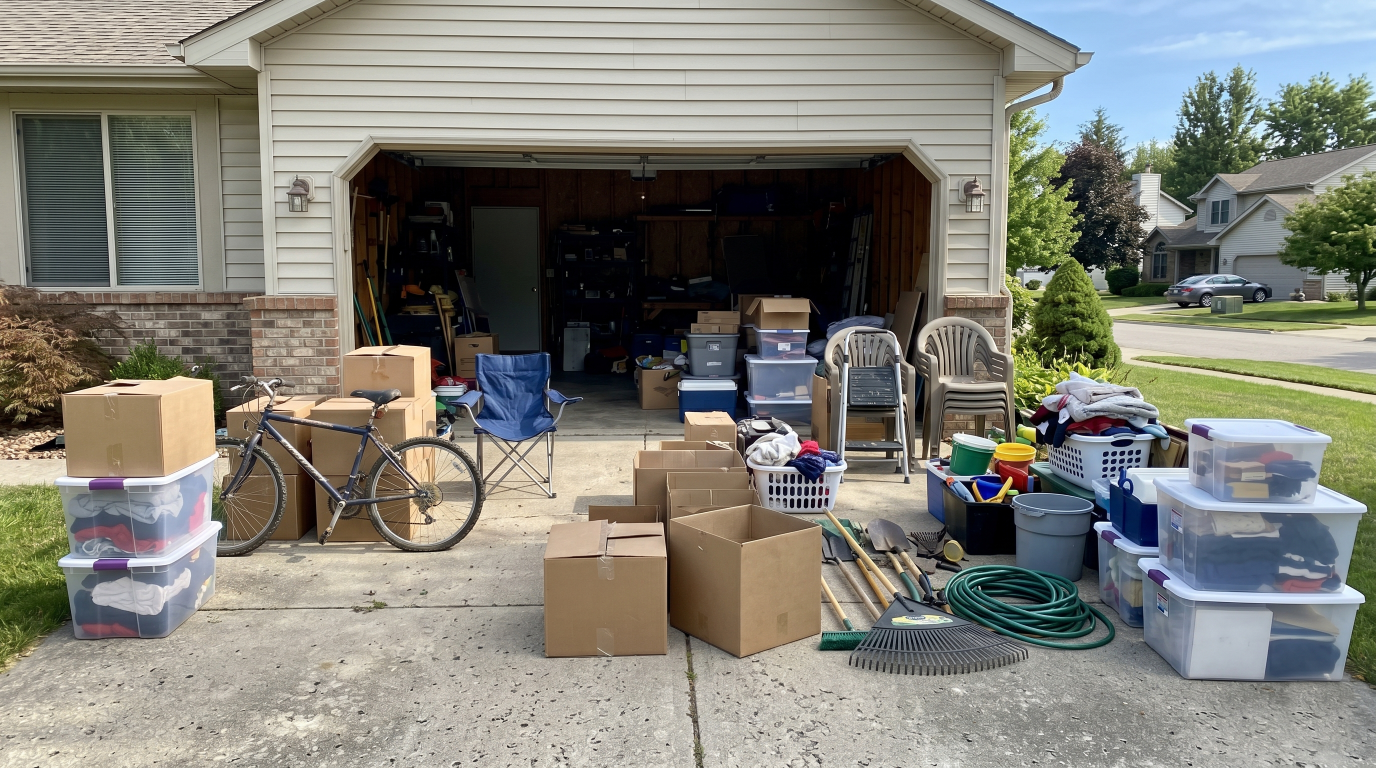
This is the step that separates a garage that stays organized from one that's a disaster again by August, and it's the step everyone wants to skip. You cannot organize a pile in place. Pick a dry morning, pull everything out onto the driveway, and sort it into four piles as it comes: keep, donate/sell, trash, and belongs in the house.
Be honest in the donate pile. The garage is where households quietly store their guilt — the exercise bike, the project that never started, the second set of golf clubs. You are paying to store all of it with floor space you'd rather park a car in. My own rule, stolen from a neighbor: if you didn't know you still owned it, you don't need it. I filled half a pickup bed for donation before I bought a single organizer, and that alone made the garage feel twice as big.
The reason this matters financially: every bin, hook, and shelf you buy is sized to the stuff you keep. Do the purge first and you'll buy noticeably less storage — which is the entire point of doing this on a budget.
Step 2
Go Vertical — The Floor Is Not Storage
Here's the mindset shift that makes the whole thing work: the floor is for the car, not for stuff. Every item sitting on the floor is taking up the most valuable real estate you have. The walls and the ceiling, meanwhile, are almost entirely empty — and they're free. Move the stuff up there and the floor takes care of itself.
You don't need a fancy system to do this. In rough order of value-for-money:
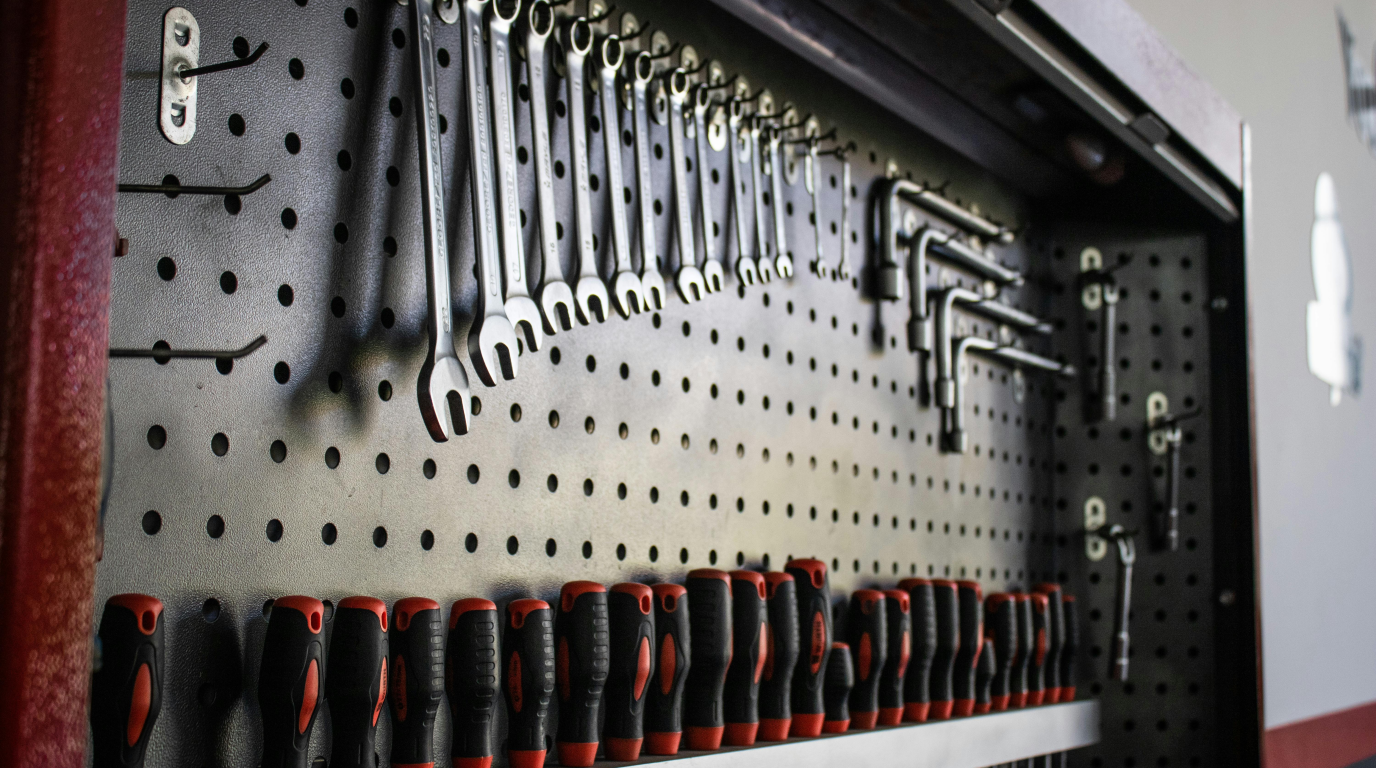
- Pegboard for hand tools. A pegboard panel with a hook assortment runs about $25–$40 and instantly gets your screwdrivers, pliers, levels, and clamps off the bench and visible at a glance. Trace each tool's outline with a marker if you want the magazine look (and to know instantly what's missing).
- Heavy-duty wall hooks for the bulky stuff. A handful of screw-in garage hooks — the big rubber-coated ones — will hold extension cords, hoses, folding chairs, and a string trimmer for a couple dollars each. Drive them into studs, not just drywall.
- Bike and ladder hangers. Bikes belong on the wall or ceiling, hanging by a wheel or laid flat on a two-arm bracket. Same for ladders — a pair of brackets gets a stepladder off the floor and flat against the wall where it takes up nothing.
- A magnetic strip or two for the small metal stuff — wrenches, hex keys, that drill-bit set that's always missing. A magnetic tool bar is five bucks and weirdly satisfying.
Find your studs first
Anything heavy — bikes, ladders, a loaded pegboard — has to anchor into studs, not just the drywall or the bare block. A $10 stud finder pays for itself the first time it stops a loaded hook from ripping out of the wall at 6 a.m. On masonry or block walls, you'll want masonry anchors and a hammer drill instead. Don't trust a wall hook holding a bike to a single drywall screw.
Step 3
Use the Ceiling for Anything Seasonal
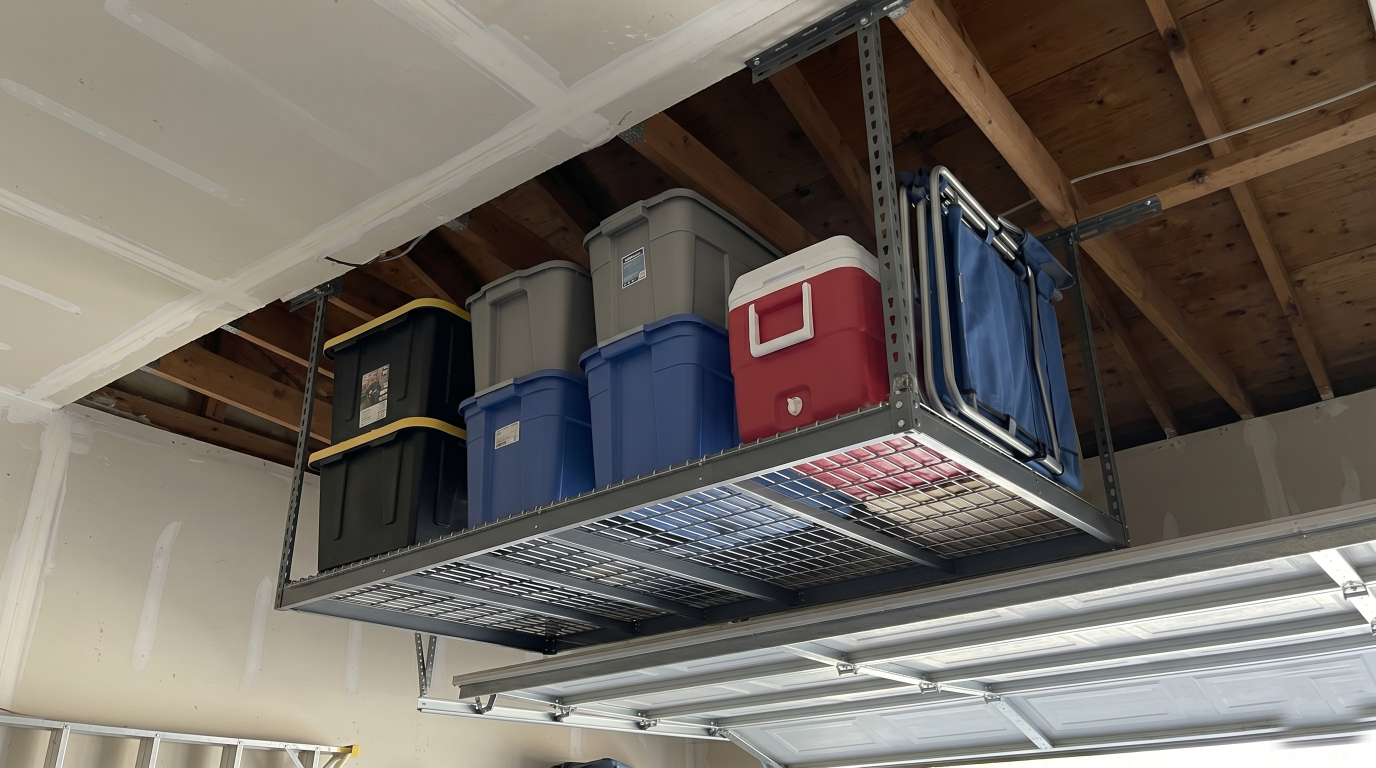
The single biggest chunk of wasted space in almost every garage is the air above the garage door and along the ceiling. That's exactly where seasonal, touch-it-twice-a-year stuff should live: holiday decorations, the cooler, camping gear, summer toys in winter, winter gear in summer.
An overhead garage storage rack runs $70–$120 and is usually the single most expensive thing on a budget garage list — but it's also the one that buys back the most space, because it stores bulk volume without touching a wall or a square inch of floor. If even that's out of budget this month, a few ceiling-joist hooks holding a plywood platform between two joists does the same job for the cost of the lumber.
Two rules for overhead storage: keep it over the front of the car (the hood end), not where you walk or where the open door swings, and don't put anything up there you'll need in a hurry. Overhead is for "someday," not for "where's my good drill."
Step 4
Organize Into Zones
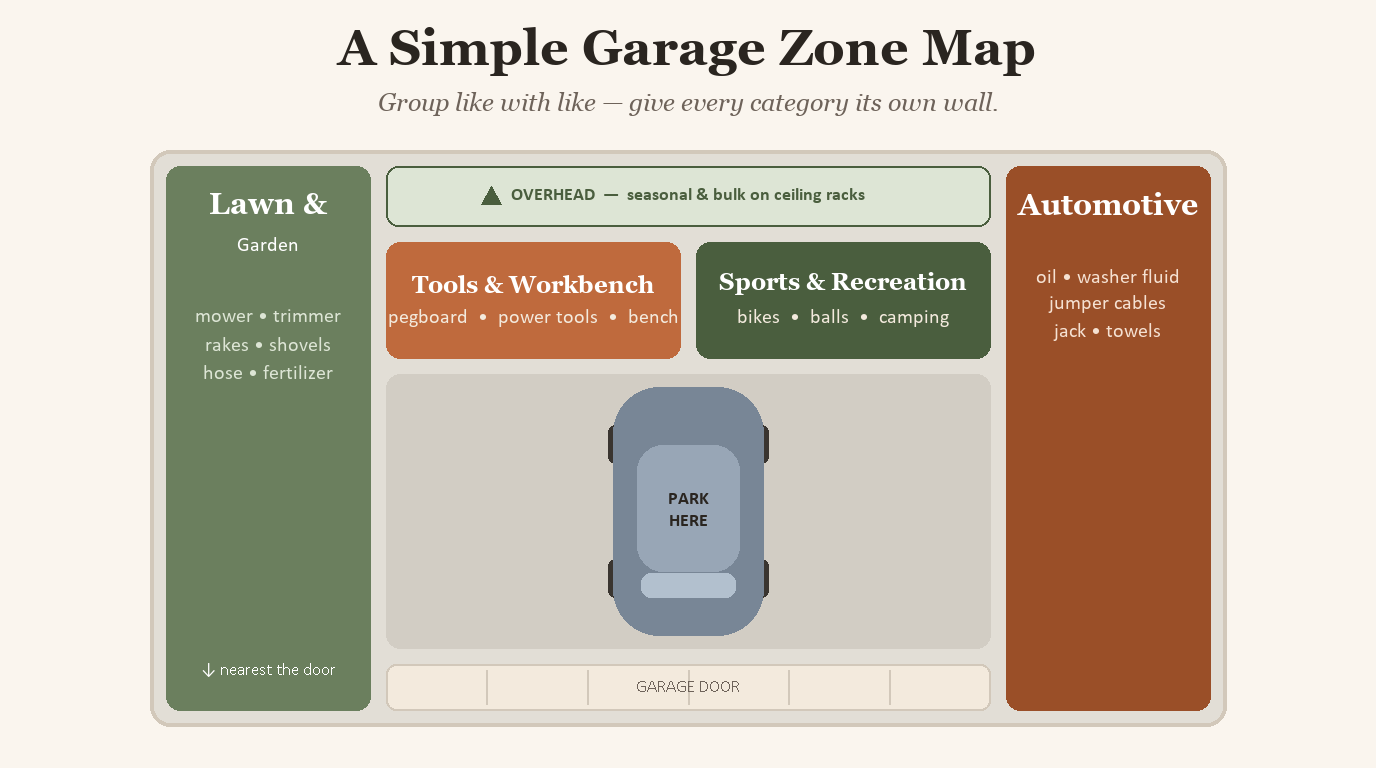
This is the step that makes an organized garage stay organized, and it costs nothing. Instead of storing things wherever they fit, give every category its own zone — a stretch of wall and the floor or shelf beneath it — and keep like with like:
- Lawn & garden — mower, trimmer, rake, shovels, fertilizer, the irrigation bits. Park this nearest the door for easy in-and-out.
- Tools & workbench — pegboard, power tools, fasteners, the bench itself. Put it where the light is best.
- Sports & recreation — bikes, balls, camping, the stuff the kids grab.
- Automotive — oil, washer fluid, jumper cables, microfiber towels, jack.
- Seasonal & bulk — overhead, as covered above.
The magic of zones is that putting things away stops requiring a decision. Garden tool? It goes on the garden wall. There's no "where should this live" hesitation, which is the exact moment clutter is born. When everyone in the house knows the zones, the garage practically re-organizes itself — and the lawn gear all living together pairs nicely with a proper spring lawn-care routine, since you're not hunting for the spreader every April.
Step 5
Shelving Without the Showroom Price
You'll still have things that don't hang — bins, paint cans, the shop vac, bags of soil. That's what one wall of shelving is for. You have two good budget options:
Buy a freestanding unit. A five-tier steel or boltless wire shelving unit runs $60–$90, holds a serious amount of weight, assembles in 20 minutes with a rubber mallet, and doesn't bolt to anything — so it moves if you reconfigure. For most people this is the right call.
Or build it yourself. If you own a drill and a circular saw and have a free afternoon, a wall-mounted 2×4-and-plywood shelf is stronger than anything you'll buy and costs about $40 in lumber. It's the better value if you want deep shelves or a custom height — and a genuinely satisfying first carpentry project.
Pro Tip
Leave the bottom shelf about 16 inches off the floor instead of at ground level. It lets you slide bins and a shop vac underneath, keeps everything off the concrete (which matters if your garage ever takes on water), and makes sweeping a thirty-second job instead of a furniture-moving project.
Step 6
Bin It, Label It, Done

The last move is the cheapest and the one with the biggest day-to-day payoff. Get everything out of cardboard boxes and into clear, lidded plastic totes. There are three reasons, and all three matter in a garage:
- You can see what's inside without opening or unstacking anything. Half the clutter problem is not knowing where things are, so you buy a second one.
- Cardboard is a disaster in a garage. It wicks moisture off the concrete, collapses when it's damp, and is a five-star hotel for mice, silverfish, and roaches. Sealed plastic shuts all of that out.
- They actually stack square and stable, which cardboard stops doing the moment it's a little crushed or humid.
Then label every bin. A label maker is nice, but a strip of painter's tape and a Sharpie is free and works fine. Label the end that faces out, and write what's actually in there — "Christmas — lights & ornaments," not "Misc." The whole system lives or dies on Future You being able to find the thing in ten seconds.
The Budget, Itemized
Here's roughly what a one-car garage costs to tame, buying everything new. You'll likely spend less, because you almost certainly own some of this already:
| Item | Rough cost |
|---|---|
| Pegboard panel + hook assortment | $30 |
| Heavy-duty wall hooks (set) + magnetic strip | $20 |
| Bike / ladder wall brackets | $25 |
| Freestanding 5-tier shelving unit | $75 |
| 6–8 clear lidded totes | $50 |
| Stud finder, tape, Sharpie, hardware | $20 |
| Core total | ~$140–$220 |
| Optional: overhead ceiling rack | +$90 |
Compare that to a quoted slatwall-and-cabinet system — routinely $2,500 to $5,000 installed — and the budget version gets you most of the function for a tenth of the price. The cabinets look great in the brochure, but they mostly store the same stuff a $25 pegboard and a $75 shelf hold just fine.
The Honest Caveat
A weekend and $140 will absolutely get you a garage you can park in and find things in. What it won't get you is the showroom — the matching cabinets, the epoxy floor, the everything-hidden-behind-doors look. If that finished aesthetic is the goal, this isn't that project, and that's fine. (Epoxy floors and slatwall are real upgrades; they're just a different budget and a different weekend.)
And like any system, this one needs a little upkeep — a 15-minute reset every few months to put strays back in their zones before they breed. But that's the trade: a small habit instead of a big budget. Do the purge, go vertical, zone it, and bin it, and you'll have spent a fraction of what the catalog wanted and gotten the thing you actually cared about — your garage back. Once it's done, it pairs well with the kind of budget curb-appeal weekend that makes the whole property feel looked-after.