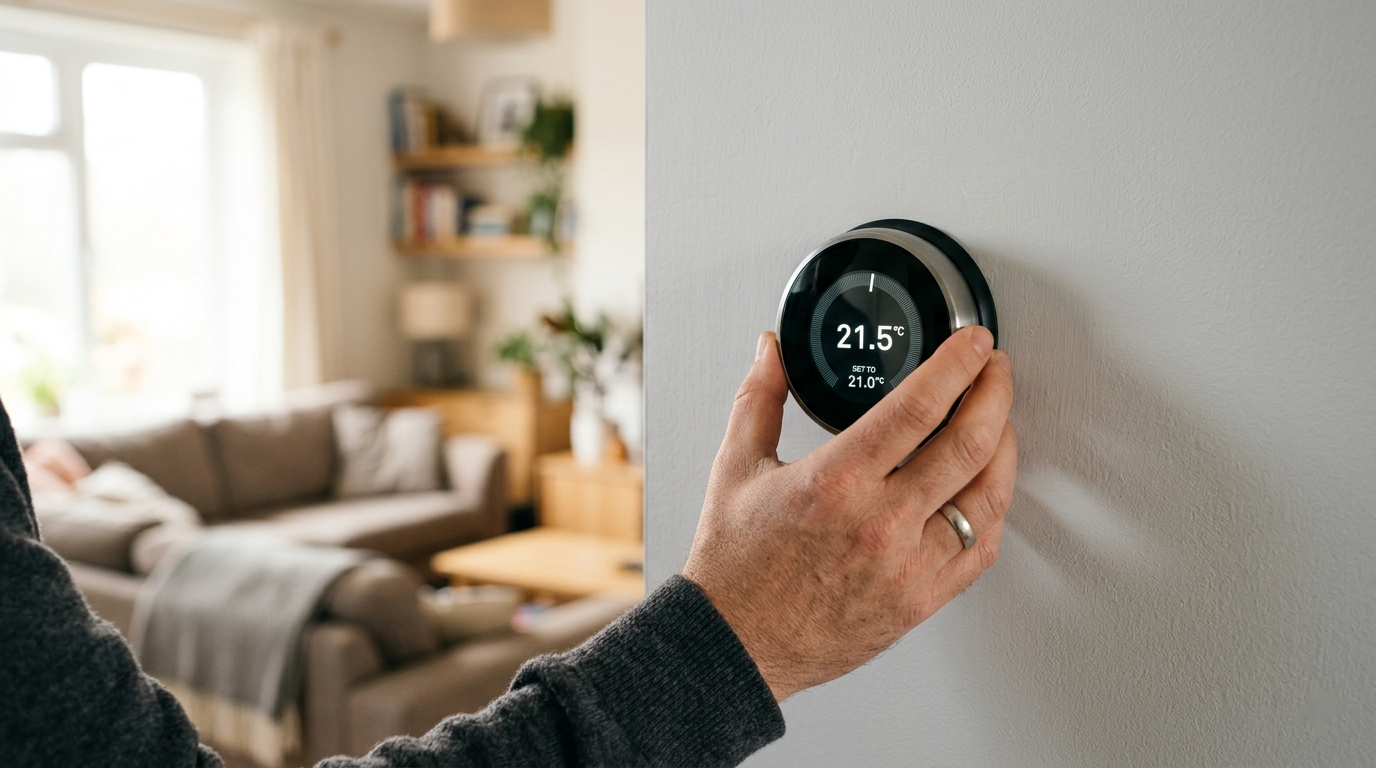
For about two years I told myself a smart thermostat wasn't worth the hassle. I figured installing one meant wires, a multimeter, and a real chance of frying my furnace control board. Then a cold snap hit while we were out of town, the house dropped to 51 degrees, and a pipe in the laundry room came uncomfortably close to freezing. That was the push. I bought one on a Saturday, and it was on the wall and running before lunch.
Here's what nobody tells you up front: the actual install is the easy part. Five wires, maybe twenty minutes. The part that trips people up is one question — does your house have a C-wire? — and almost everything in this guide is built around answering that before you start, so you're not standing at the wall with a dead furnace and a thermostat that won't power on.
This is a genuine no-electrician job. Thermostat wiring is low-voltage (24 volts), not the 120-volt wiring in your walls. You're not going to get hurt and you're not going to burn anything down. But you do have to be methodical, and you absolutely have to kill the power first. Here's the whole process.
Before You Start
One exception matters: line-voltage thermostats. If your home has electric baseboard or in-wall electric heat, your thermostat may carry 120/240 volts, not 24. The giveaway is thick wire (like a lamp cord or heavier) and only two or four wires with no letter labels. If that's what you have, stop — that's the one thermostat job worth handing to an electrician. Everything below assumes a standard low-voltage system tied to a furnace, heat pump, or air handler, which is the vast majority of homes.
Step 1
Check Compatibility and Find Your C-Wire
Before you buy anything — or right after, with the box unopened and the receipt handy — pull the cover off your existing thermostat. It usually just pops straight off the wall plate; pull gently from the bottom. Don't unscrew anything yet. You're only looking.
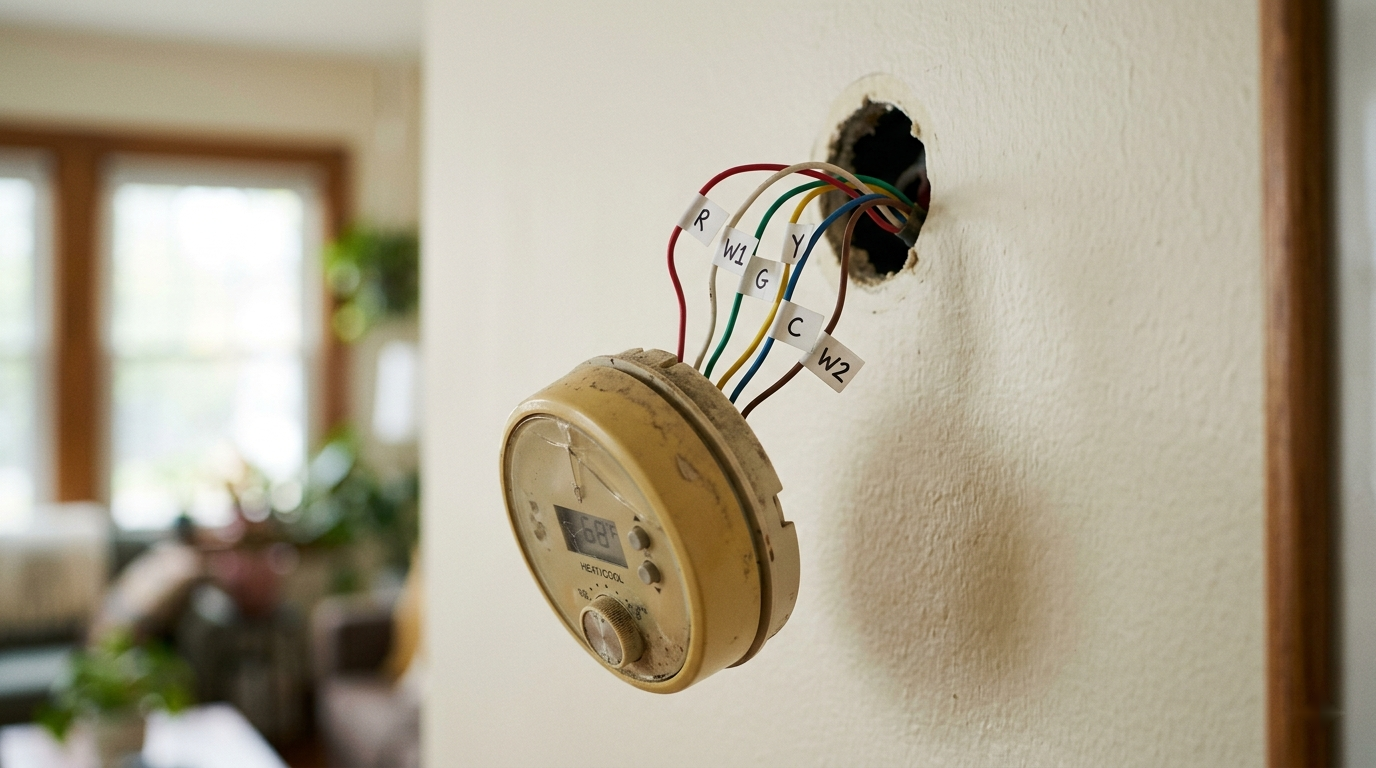
You'll see a row of terminals with letters next to them, and a wire screwed into some of them. The letters are a standard language across almost every system. Here's what they mean and what color the wire usually is (usually — never trust color alone, trust the letter):

- R / Rh / Rc — power (24V) from the system. Often red.
- C — the common wire. This is the one that matters. It completes the circuit so a smart thermostat has constant power instead of stealing it. Often blue or black.
- W — heat call. Often white.
- Y — cooling / AC call. Often yellow.
- G — fan. Often green.
- O/B — heat pump reversing valve, if you have a heat pump. Often orange.
Now the key question: is there a wire physically connected to the C terminal? If yes, you've won — every modern smart thermostat will work with no extra parts. If the C terminal is empty, don't panic. Look for an unused wire pushed back into the wall, often capped or just tucked behind the plate. Many houses have a C-wire that the old dumb thermostat never needed, just coiled up in the gap. If you find an unused wire, you've still won — you just need to connect it.
If there's truly no C-wire and no spare, you still have good options — covered near the end of this guide. Either way, snap a photo of the wiring now, with the letters visible. This photo is your safety net for the entire job.
Step 2
Cut the Power at the Breaker
This is the step people skip, and it's the only one that can actually cause damage. Low voltage won't shock you, but brushing two live thermostat wires together can blow a fragile fuse on your furnace control board — turning a 20-minute job into a parts-ordering weekend.
Go to your breaker panel and switch off the breaker labeled for the furnace, air handler, or HVAC. If nothing's labeled clearly, turn the thermostat to heat or cool, then flip breakers until the system stops responding. Then go back to the thermostat and confirm the display is completely dead. No glow, no numbers. If it still shows anything, you killed the wrong breaker.
Pro Tip
A $15 non-contact voltage tester is the cheapest peace of mind in the toolbox. It confirms the wires are truly dead before you touch them, and you'll use it on every electrical-adjacent project after this one.
Step 3
Photograph and Label the Old Wiring
With the power confirmed off, take one more clear, well-lit photo of the terminal block with every wire still attached. Then label each wire with the letter of the terminal it's currently in — not the color, the letter. Most smart thermostats include little sticker flags for exactly this. If yours didn't, a strip of painter's tape and a pen works fine.
Label first, disconnect second. Always. The single most common way this job goes sideways is someone yanks all the wires, then realizes the new terminals are arranged differently and they're matching by memory and wire color — and wire color, as mentioned, lies more often than you'd think.
Now loosen each terminal screw, free the wires, and unscrew the old wall plate. If the wires try to disappear into the wall, bend them over or clip a clothespin on the bundle so they can't retreat behind the drywall. Fishing a thermostat wire back out of a wall cavity is a genuinely miserable afternoon.
Step 4
Mount the New Base Plate
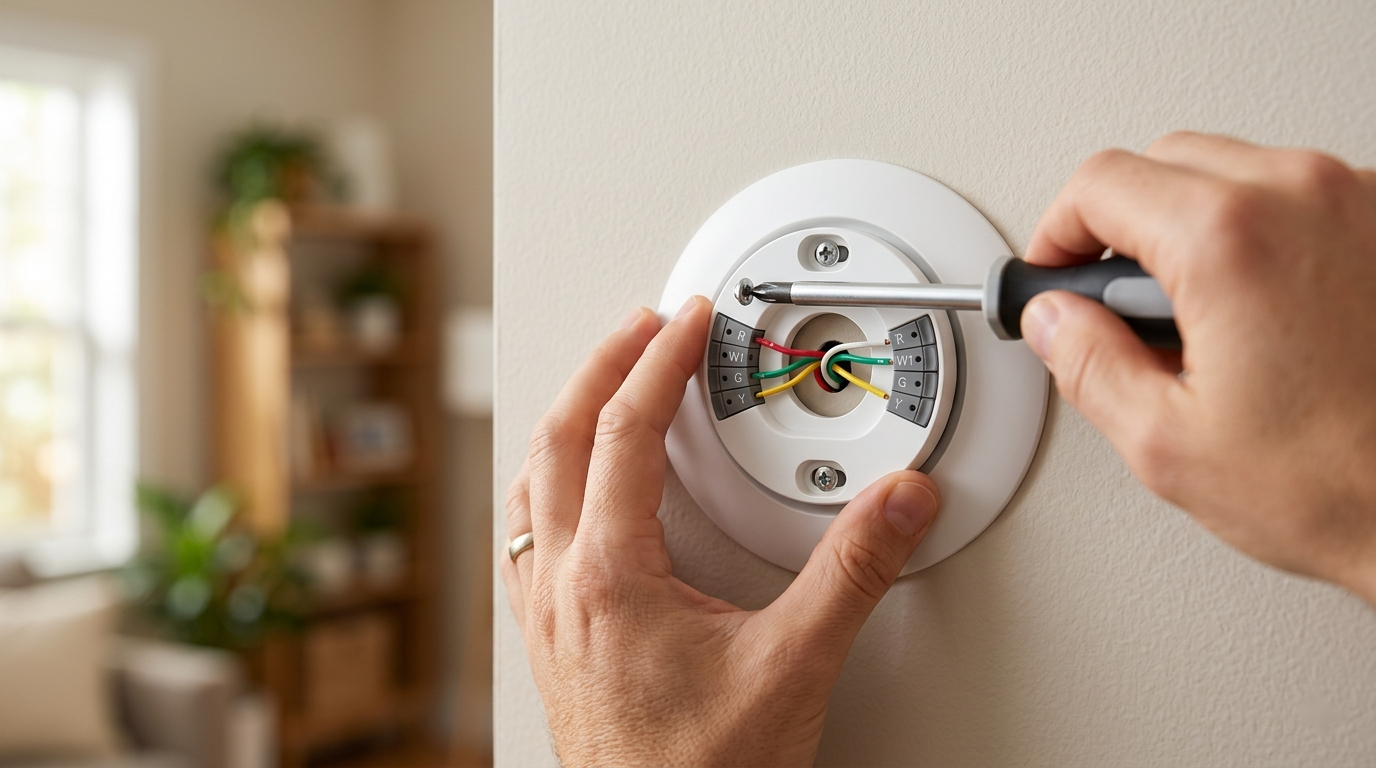
Feed the wire bundle through the opening in the new base plate and hold it against the wall. Use the built-in level (most have one) or a small torpedo level so it sits straight — a crooked thermostat is the kind of thing you'll notice every single day.
Mark the screw holes, and here's where the old anchor holes rarely line up. If you're lucky and hit a stud, screw straight in. If not — which is most of the time — use the drywall anchors that came in the box. Tap them in, drive the screws, and the plate should sit flat and solid.
Step 5
Connect the Wires
This is the moment all that labeling pays off, and it should feel almost anticlimactic. Take each labeled wire and connect it to the matching letter terminal on the new base. W goes to W. Y to Y. G to G. R to R (some thermostats want it in a terminal labeled R or Rc — the instructions or app will tell you, and many have a jumper handled automatically). And the C wire goes to C.
Most modern bases use push-in terminals: strip a little insulation if needed, press the tab, insert the wire, release. Give each a gentle tug to confirm it's seated. If a wire looks corroded or the copper is dark, snip the end and strip back to fresh, bright copper for a clean connection.
Pro Tip
Don't overthink unused wires. If your old setup didn't use the G or O/B terminal, you don't have to either. Connect what was connected before, plus your C-wire. The thermostat's setup wizard reads which terminals are populated and configures the system type from there.
Step 6
Attach the Thermostat and Restore Power
Tuck the wires back into the wall cavity so they're not crushed, and click the thermostat display onto the base. It should snap on with a satisfying, definite click — no forcing. If it won't seat, a wire is sitting too proud; press the bundle flatter and try again.
Go back to the panel and flip the HVAC breaker on. Walk back to the thermostat. It should light up and start its boot sequence within a few seconds. If it stays dark, the most likely culprit is the C-wire connection — go back, kill the breaker again, and re-seat it. A thermostat that won't power on is almost always a C-wire that isn't making contact.
Step 7
Connect to Wi-Fi and Set a Schedule
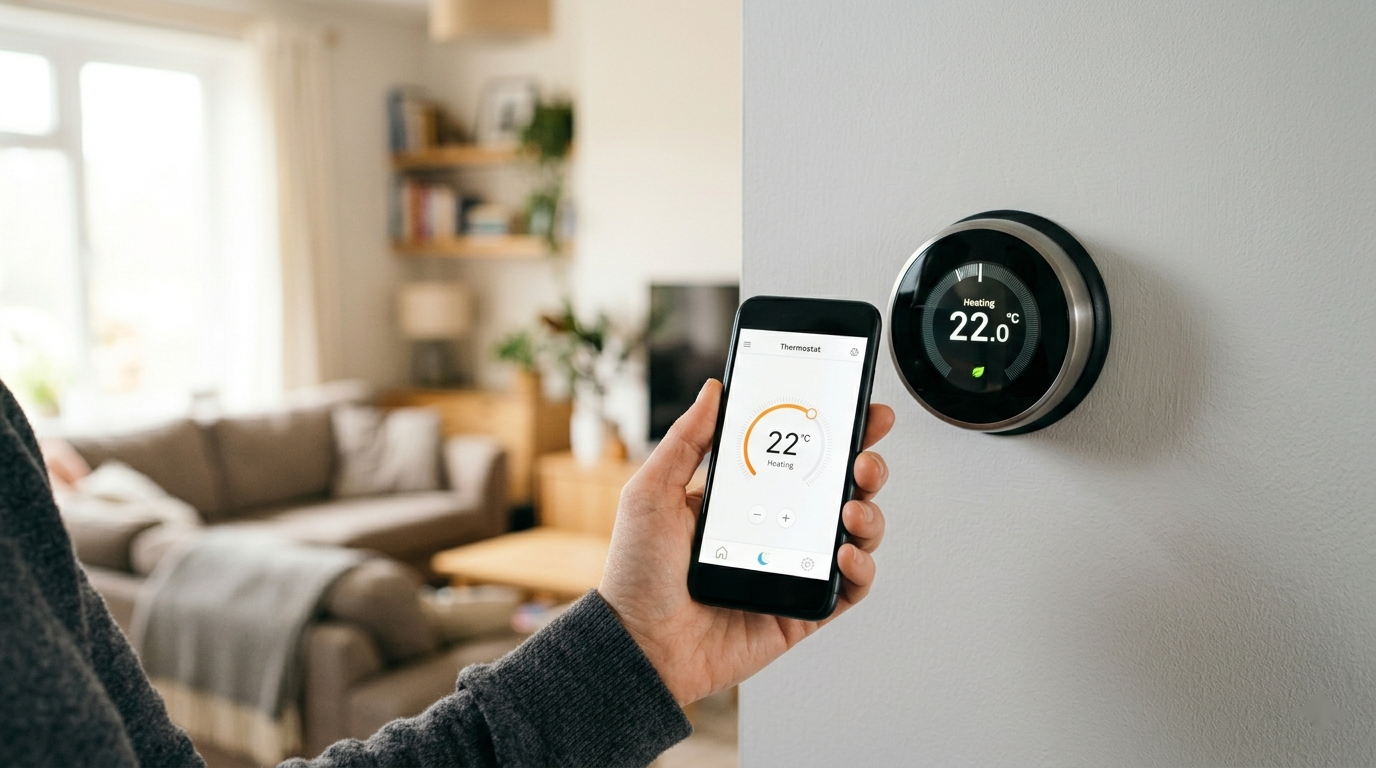
The on-screen wizard walks you through the rest: pick a language, join your Wi-Fi (have the password handy — typing it on a dial is the most tedious part of the whole job), and create or sign into the manufacturer account so the phone app works.
Then run the equipment test. Every major brand has one. It cycles heat, then cooling, then the fan, for a few seconds each, while you confirm you hear and feel each one actually kick on. This catches a miswired terminal immediately, while the photo and labels are still fresh, instead of on the first cold night. Don't skip it.
Finally, set a schedule. This is where the savings actually come from — not the gadget itself, but letting it ease off while you're asleep or out and recover before you're home. Start simple: a cooler setback overnight, a setback during work hours, comfortable when you're home. You can let it auto-learn from there if it offers that. The classic guidance — roughly 7-10°F of setback for eight hours a day — is where the often-cited "up to 10% a year on heating and cooling" comes from.
No C-Wire? Here Are Your Real Options
If Step 1 turned up no C-wire and no spare in the wall, you have four honest paths, roughly best to last:
- Use the included adapter. Several brands (Ecobee, and Nest in many cases) ship a power extender kit or include a model designed to run without a dedicated C-wire. For a lot of homes this is plug-and-play and the cleanest answer — read the box before assuming you need more.
- Add a C-wire adapter at the furnace. A C-wire adapter wires into the furnace control board and sends a common signal up the existing wires. It's a $25 part and a 15-minute job at the furnace — slightly more involved, but well within DIY range.
- Repurpose an unused wire. If your cable has, say, five conductors and only four are used, an unused strand can be turned into a C-wire by connecting it at both the thermostat and the furnace board. Doable, but this is the point where some people decide it's pro territory — no shame in that.
- Run new thermostat wire. The "right" long-term fix and the biggest job — only realistic if the run is short and accessible. For most people, one of the first two options ends it.
When to Call a Pro
Hand it off if: you have a line-voltage (120/240V) system, your wiring doesn't match any standard letters, you have a complex multi-stage or dual-fuel heat pump and the app's setup is asking questions you can't answer, or you pull the old unit and find a rat's nest that doesn't resemble the photo in any guide. None of those are common, but when they show up, a pro thermostat swap is typically a one-hour service call — cheap insurance against a damaged control board.
The Payoff
Total cost for most people: the thermostat itself, plus maybe a $25 adapter and a $15 voltage tester you'll keep forever. Total time: a relaxed Saturday morning, most of it spent labeling and reading the app, not wiring. In return you get a system that stops heating and cooling an empty house, that you can fix from your phone when the forecast flips, and that quietly trims the single biggest line on most utility bills.
It pairs naturally with the rest of the season's prep. Run it alongside the pre-summer AC tune-up so the system the thermostat is now controlling is actually in good shape, keep up with the HVAC filter it depends on, and use the DIY energy audit to find where the conditioned air is leaking back out. The thermostat is the brain; those are the body.
If you've been putting this one off like I did — it really is a Saturday-morning job. The hardest part is the part you just finished reading.