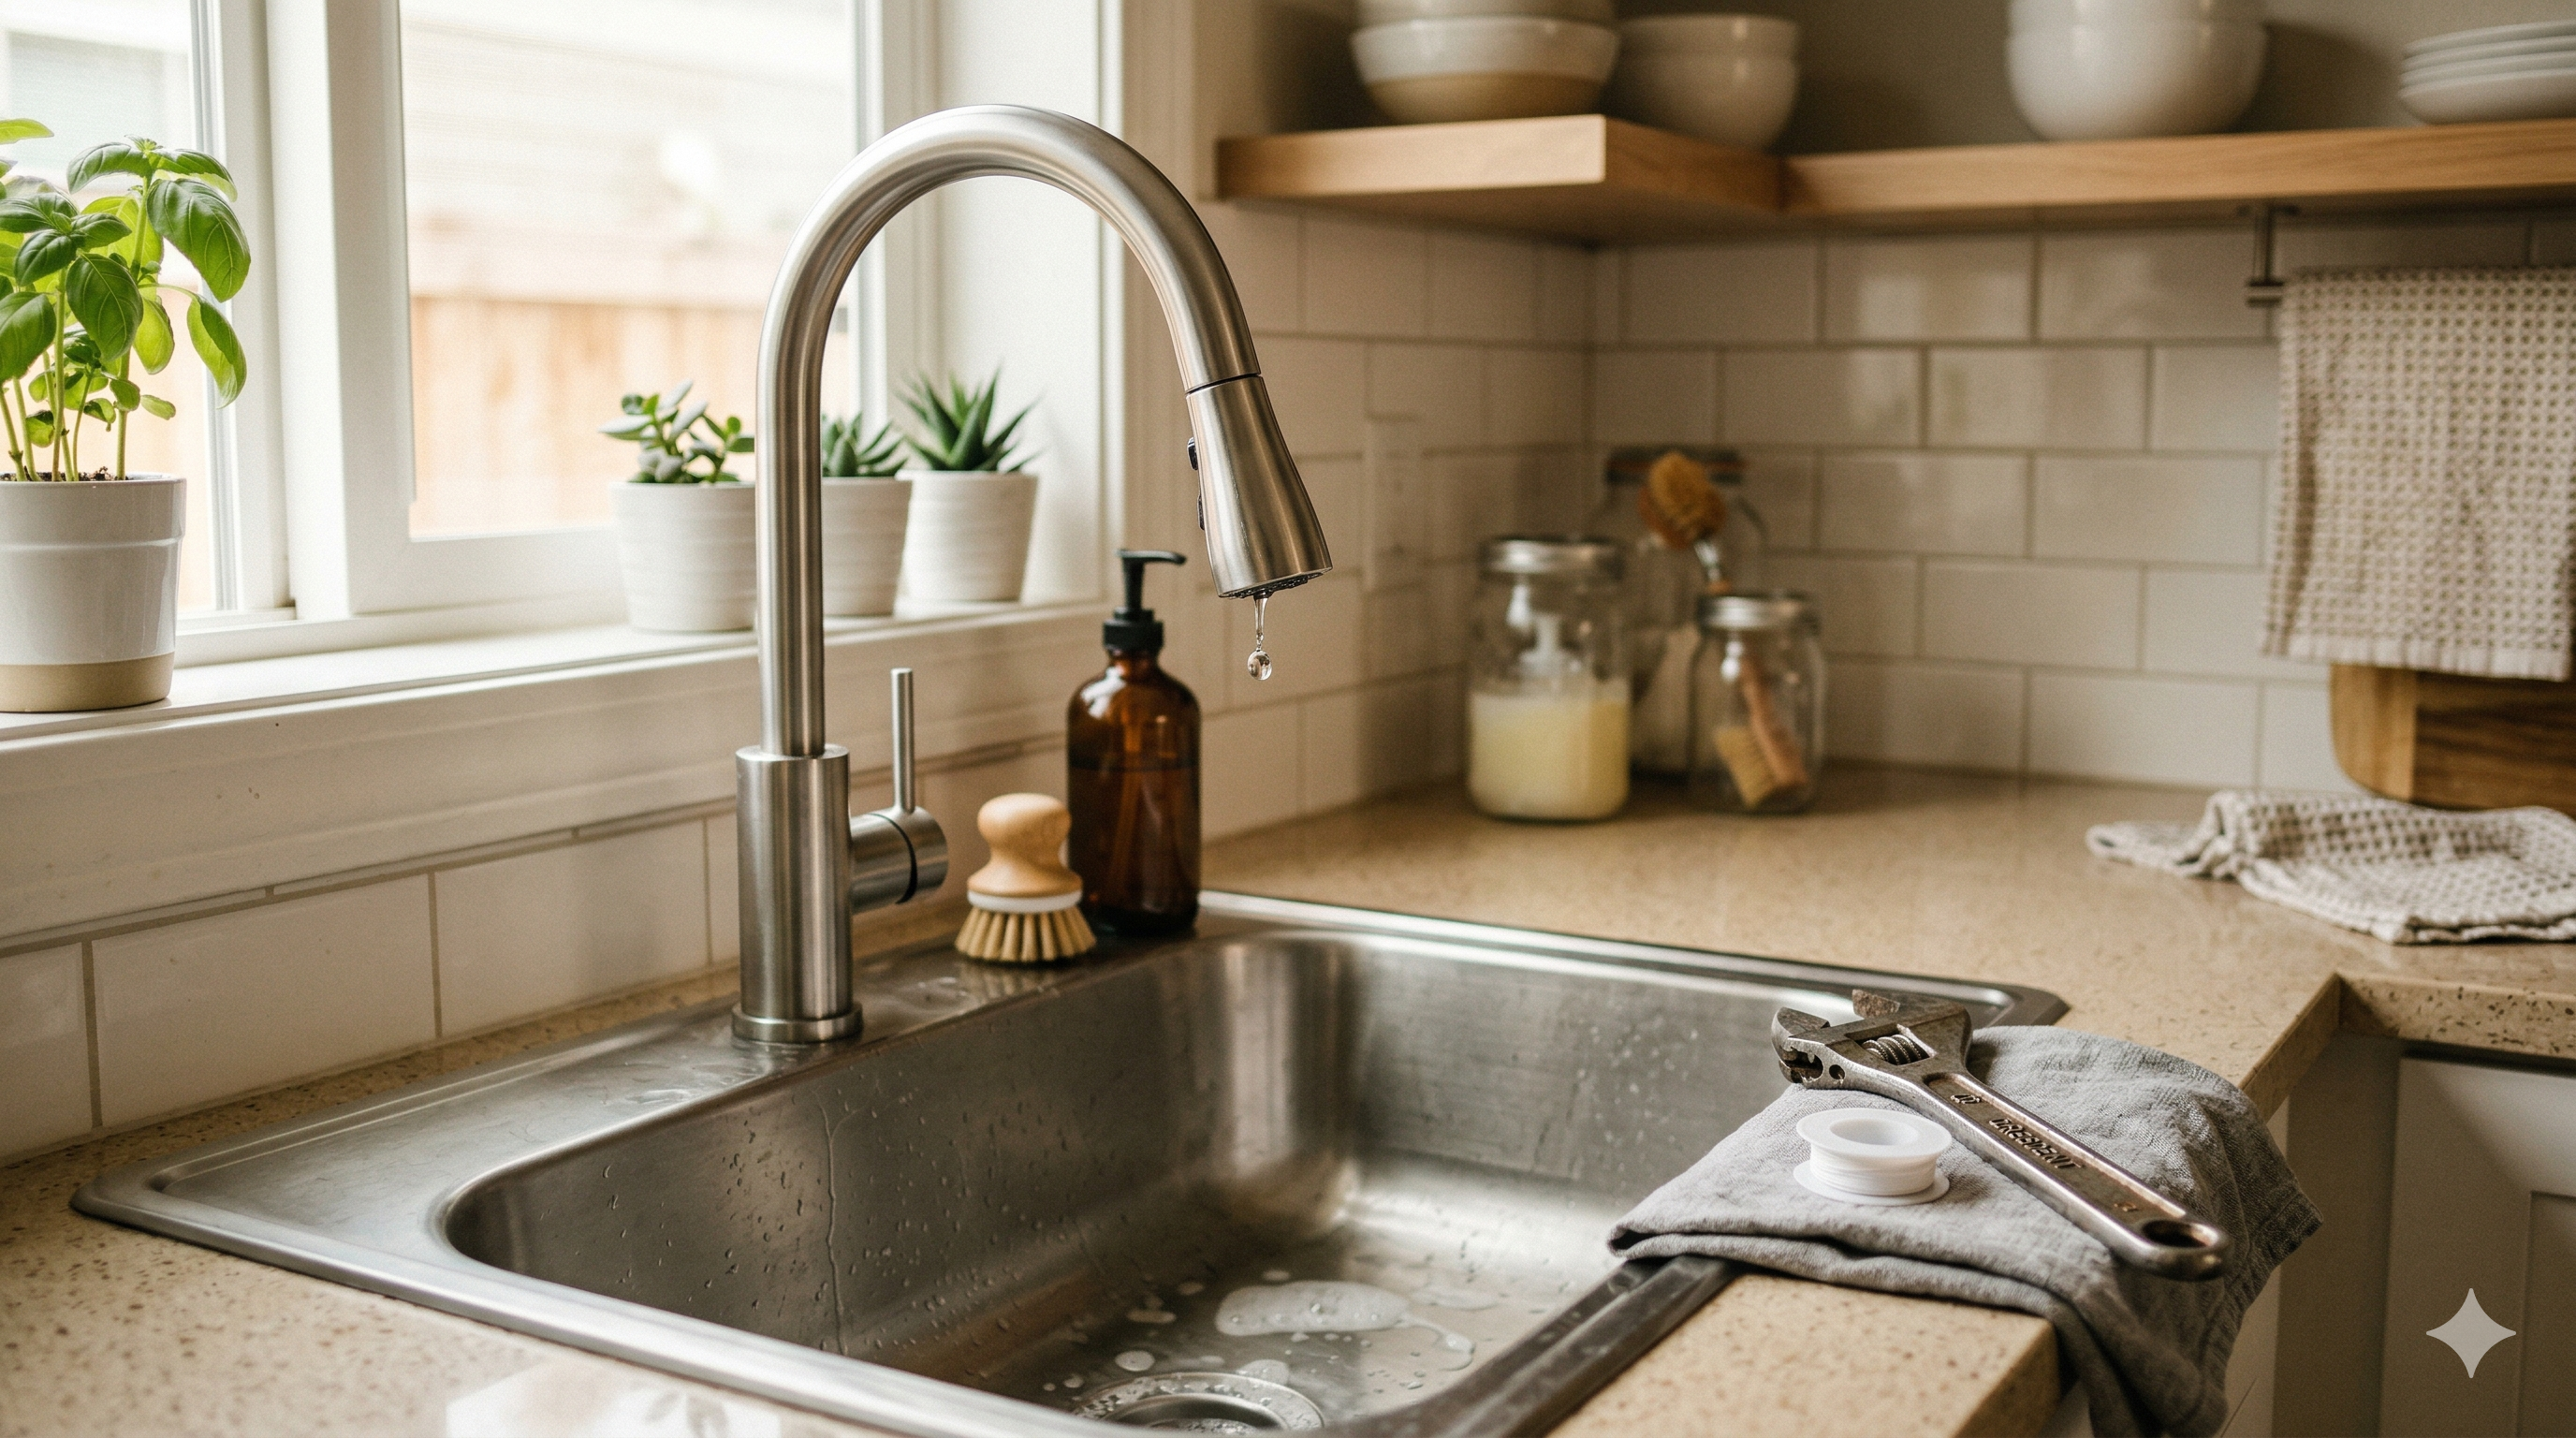
That slow drip coming from your kitchen or bathroom faucet might not seem like a big deal, but it adds up fast. A faucet leaking at one drip per second wastes over three thousand gallons of water a year. That's real money down the drain — literally. The good news is that fixing a leaky faucet is one of the most satisfying beginner plumbing repairs you can do, and it rarely takes more than an hour once you know what you're dealing with.
I've fixed probably a dozen leaky faucets between my own house and helping out friends and family. Every single time, the hardest part was figuring out what type of faucet I was working with. Once you know that, the actual repair is surprisingly straightforward. Let me walk you through it.
Before You Start: What You'll Need
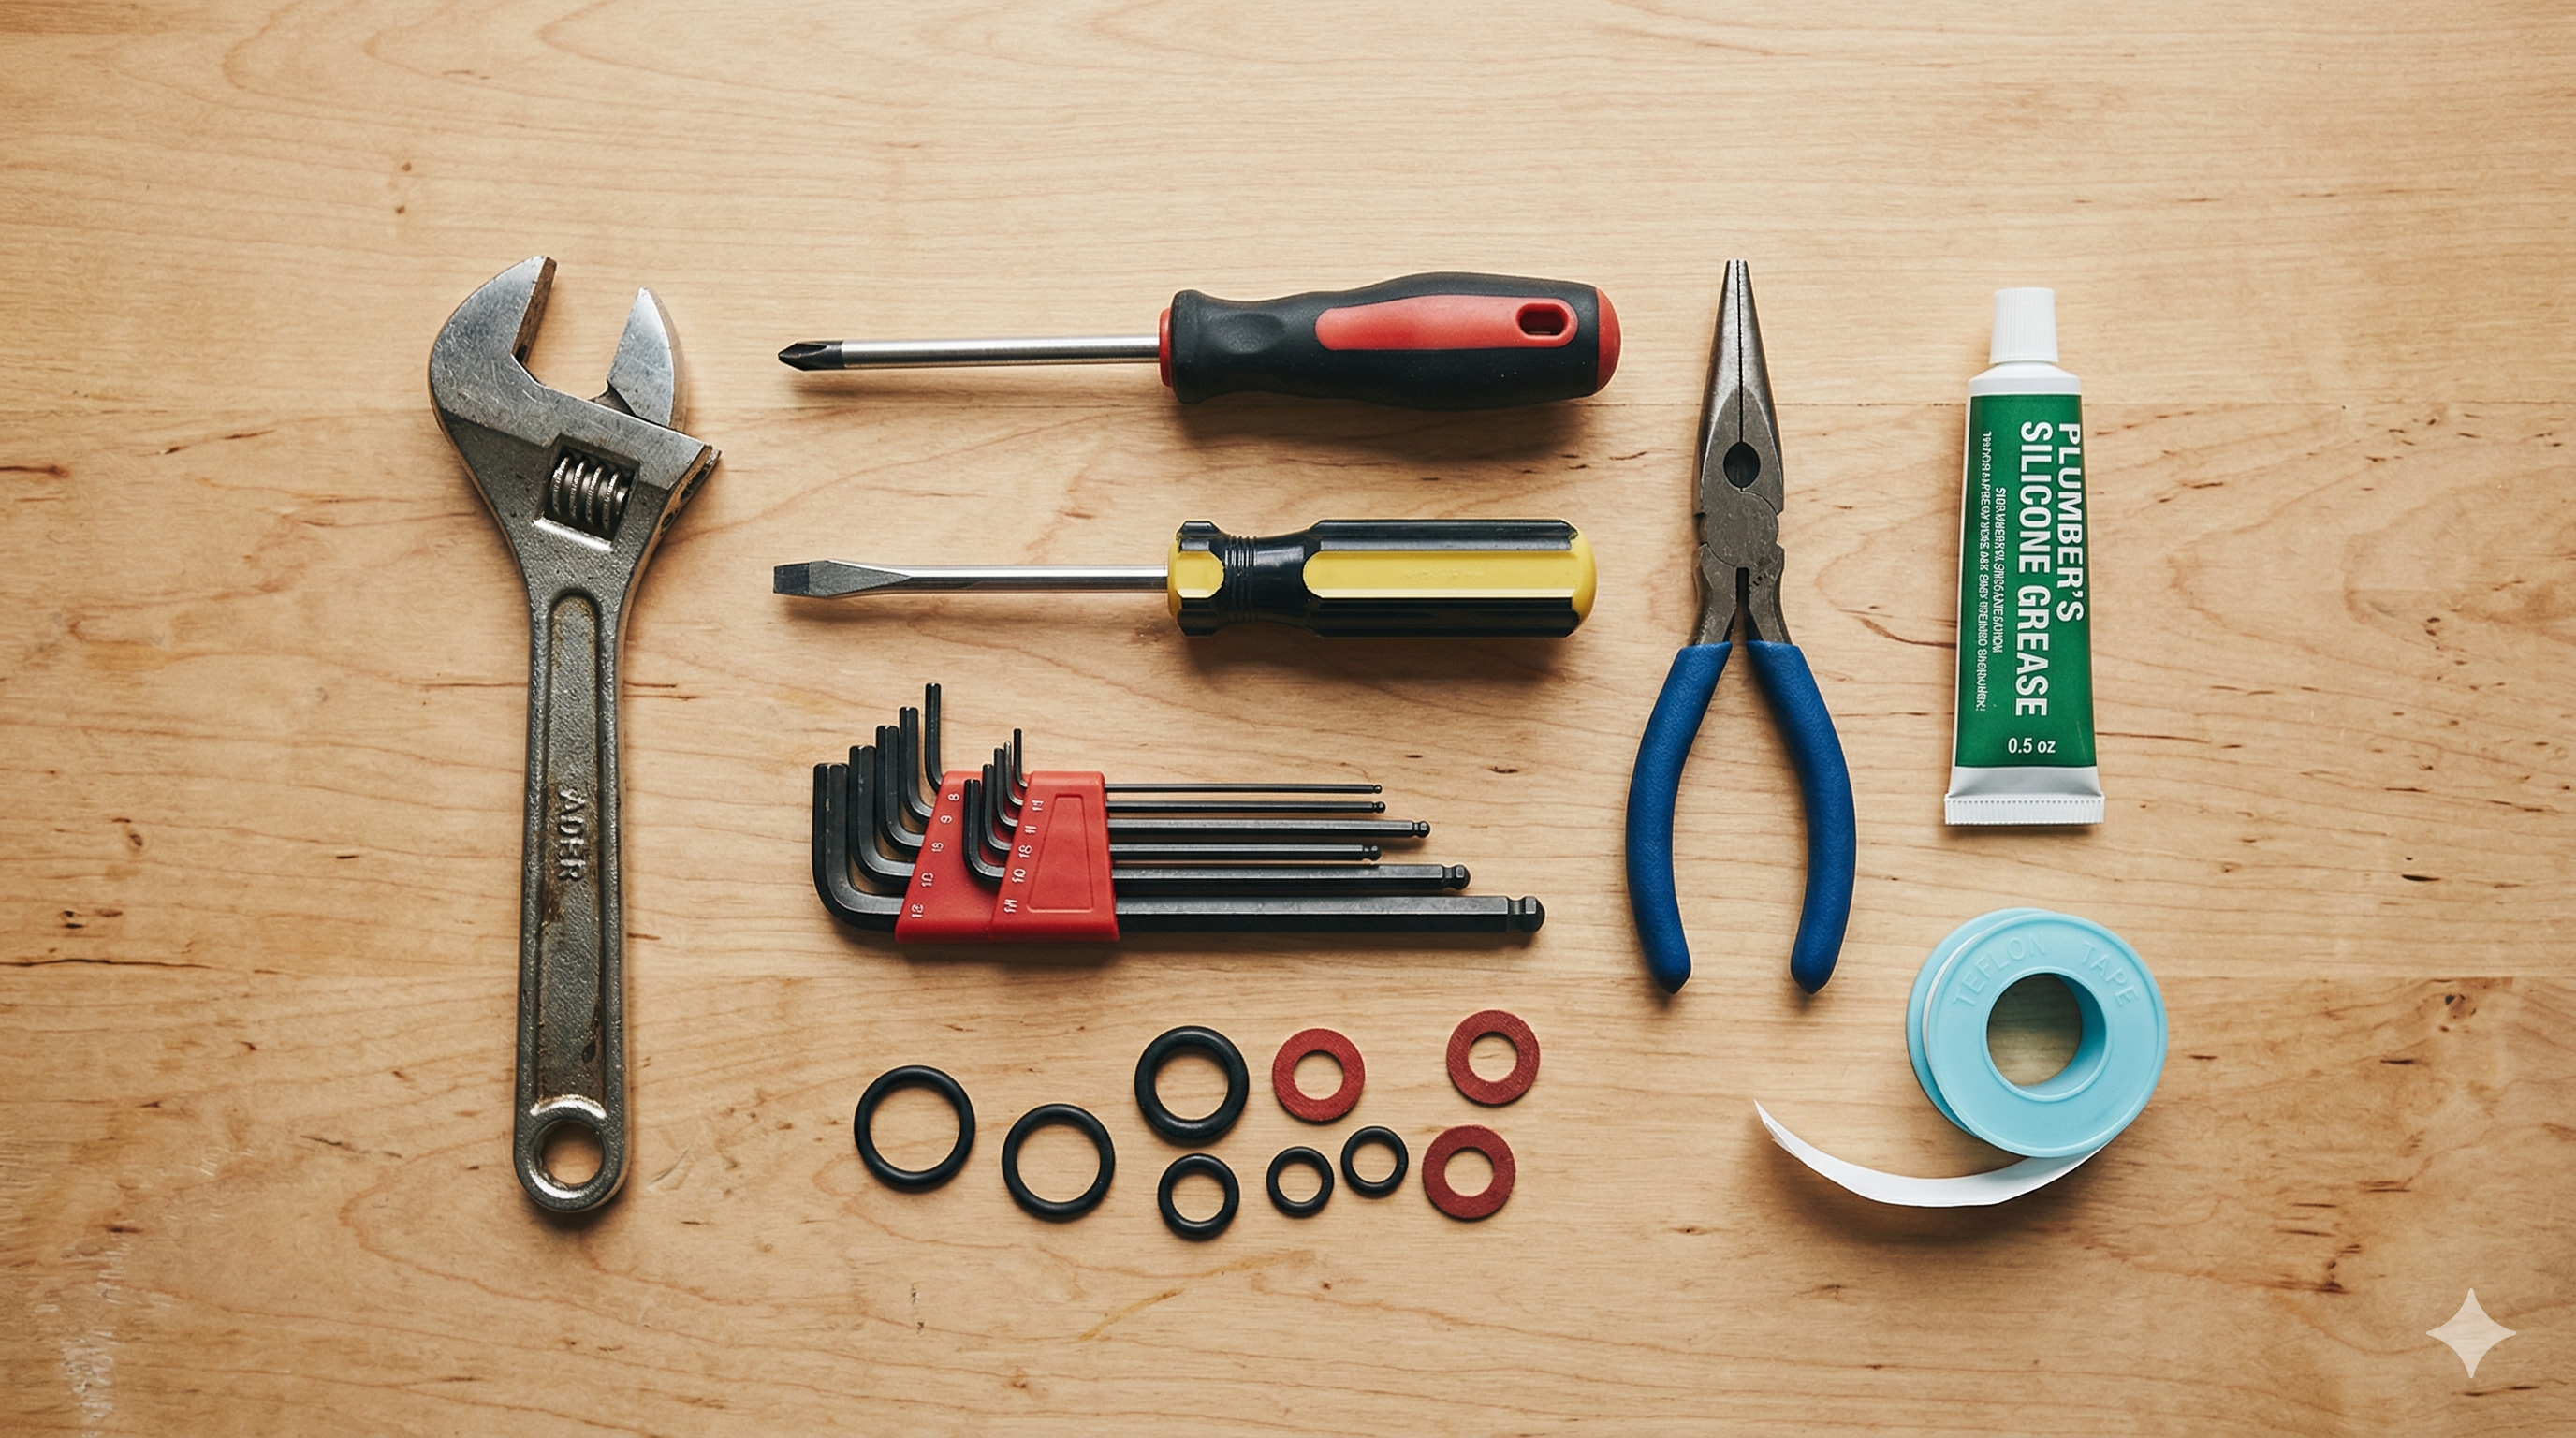
The specific parts depend on your faucet type, but here's the general toolkit that covers most repairs:
- Adjustable wrench — your most-used tool for this job
- Flat-head and Phillips screwdrivers
- Allen wrench set — many modern faucets use hex screws
- Needle-nose pliers — for pulling out small parts
- Plumber's grease — for reassembly
- Replacement parts — cartridge, O-rings, or seats and springs depending on faucet type
- A towel and a small container — to catch water and keep track of tiny parts
You don't need anything fancy or expensive. If you already have the basic homeowner toolkit, you're probably ninety percent of the way there.
Step One: Figure Out What Type of Faucet You Have
This is the most important step, and it's the one most people skip. There are four main types of faucets, and each one leaks for different reasons and requires different parts. Trying to fix a cartridge faucet the same way you'd fix a compression faucet is a recipe for frustration.
Compression faucets are the old-school type with two separate handles — one for hot, one for cold. When you turn the handle, it presses a rubber washer against a valve seat to stop the flow. These are the simplest to understand and the most common source of leaks in older homes. If your faucet has two handles that you tighten to shut off, it's almost certainly a compression faucet.
Ball faucets have a single handle that moves over a rounded ball-shaped cap right above the base. You'll see these a lot in kitchens. The handle moves freely in any direction. Delta is the brand most associated with this design.
Cartridge faucets can have one or two handles, but the key difference is that the handle moves in a smooth, consistent motion — up and down to control flow, left and right for temperature. Inside there's a cartridge that slides in and out. Moen is known for this type.
Ceramic disc faucets are the newest design. They have a single lever over a wide cylindrical body. Inside, two ceramic discs slide against each other to control water flow. These are the most durable and least likely to leak, but when they do, the fix is specific to this type.
Pro Tip
If you can find a brand name or model number on your faucet, search for it online before you start disassembling anything. Most manufacturers have exploded diagrams showing every part and exactly how it comes apart. This saves a ton of guesswork.
Step Two: Turn Off the Water
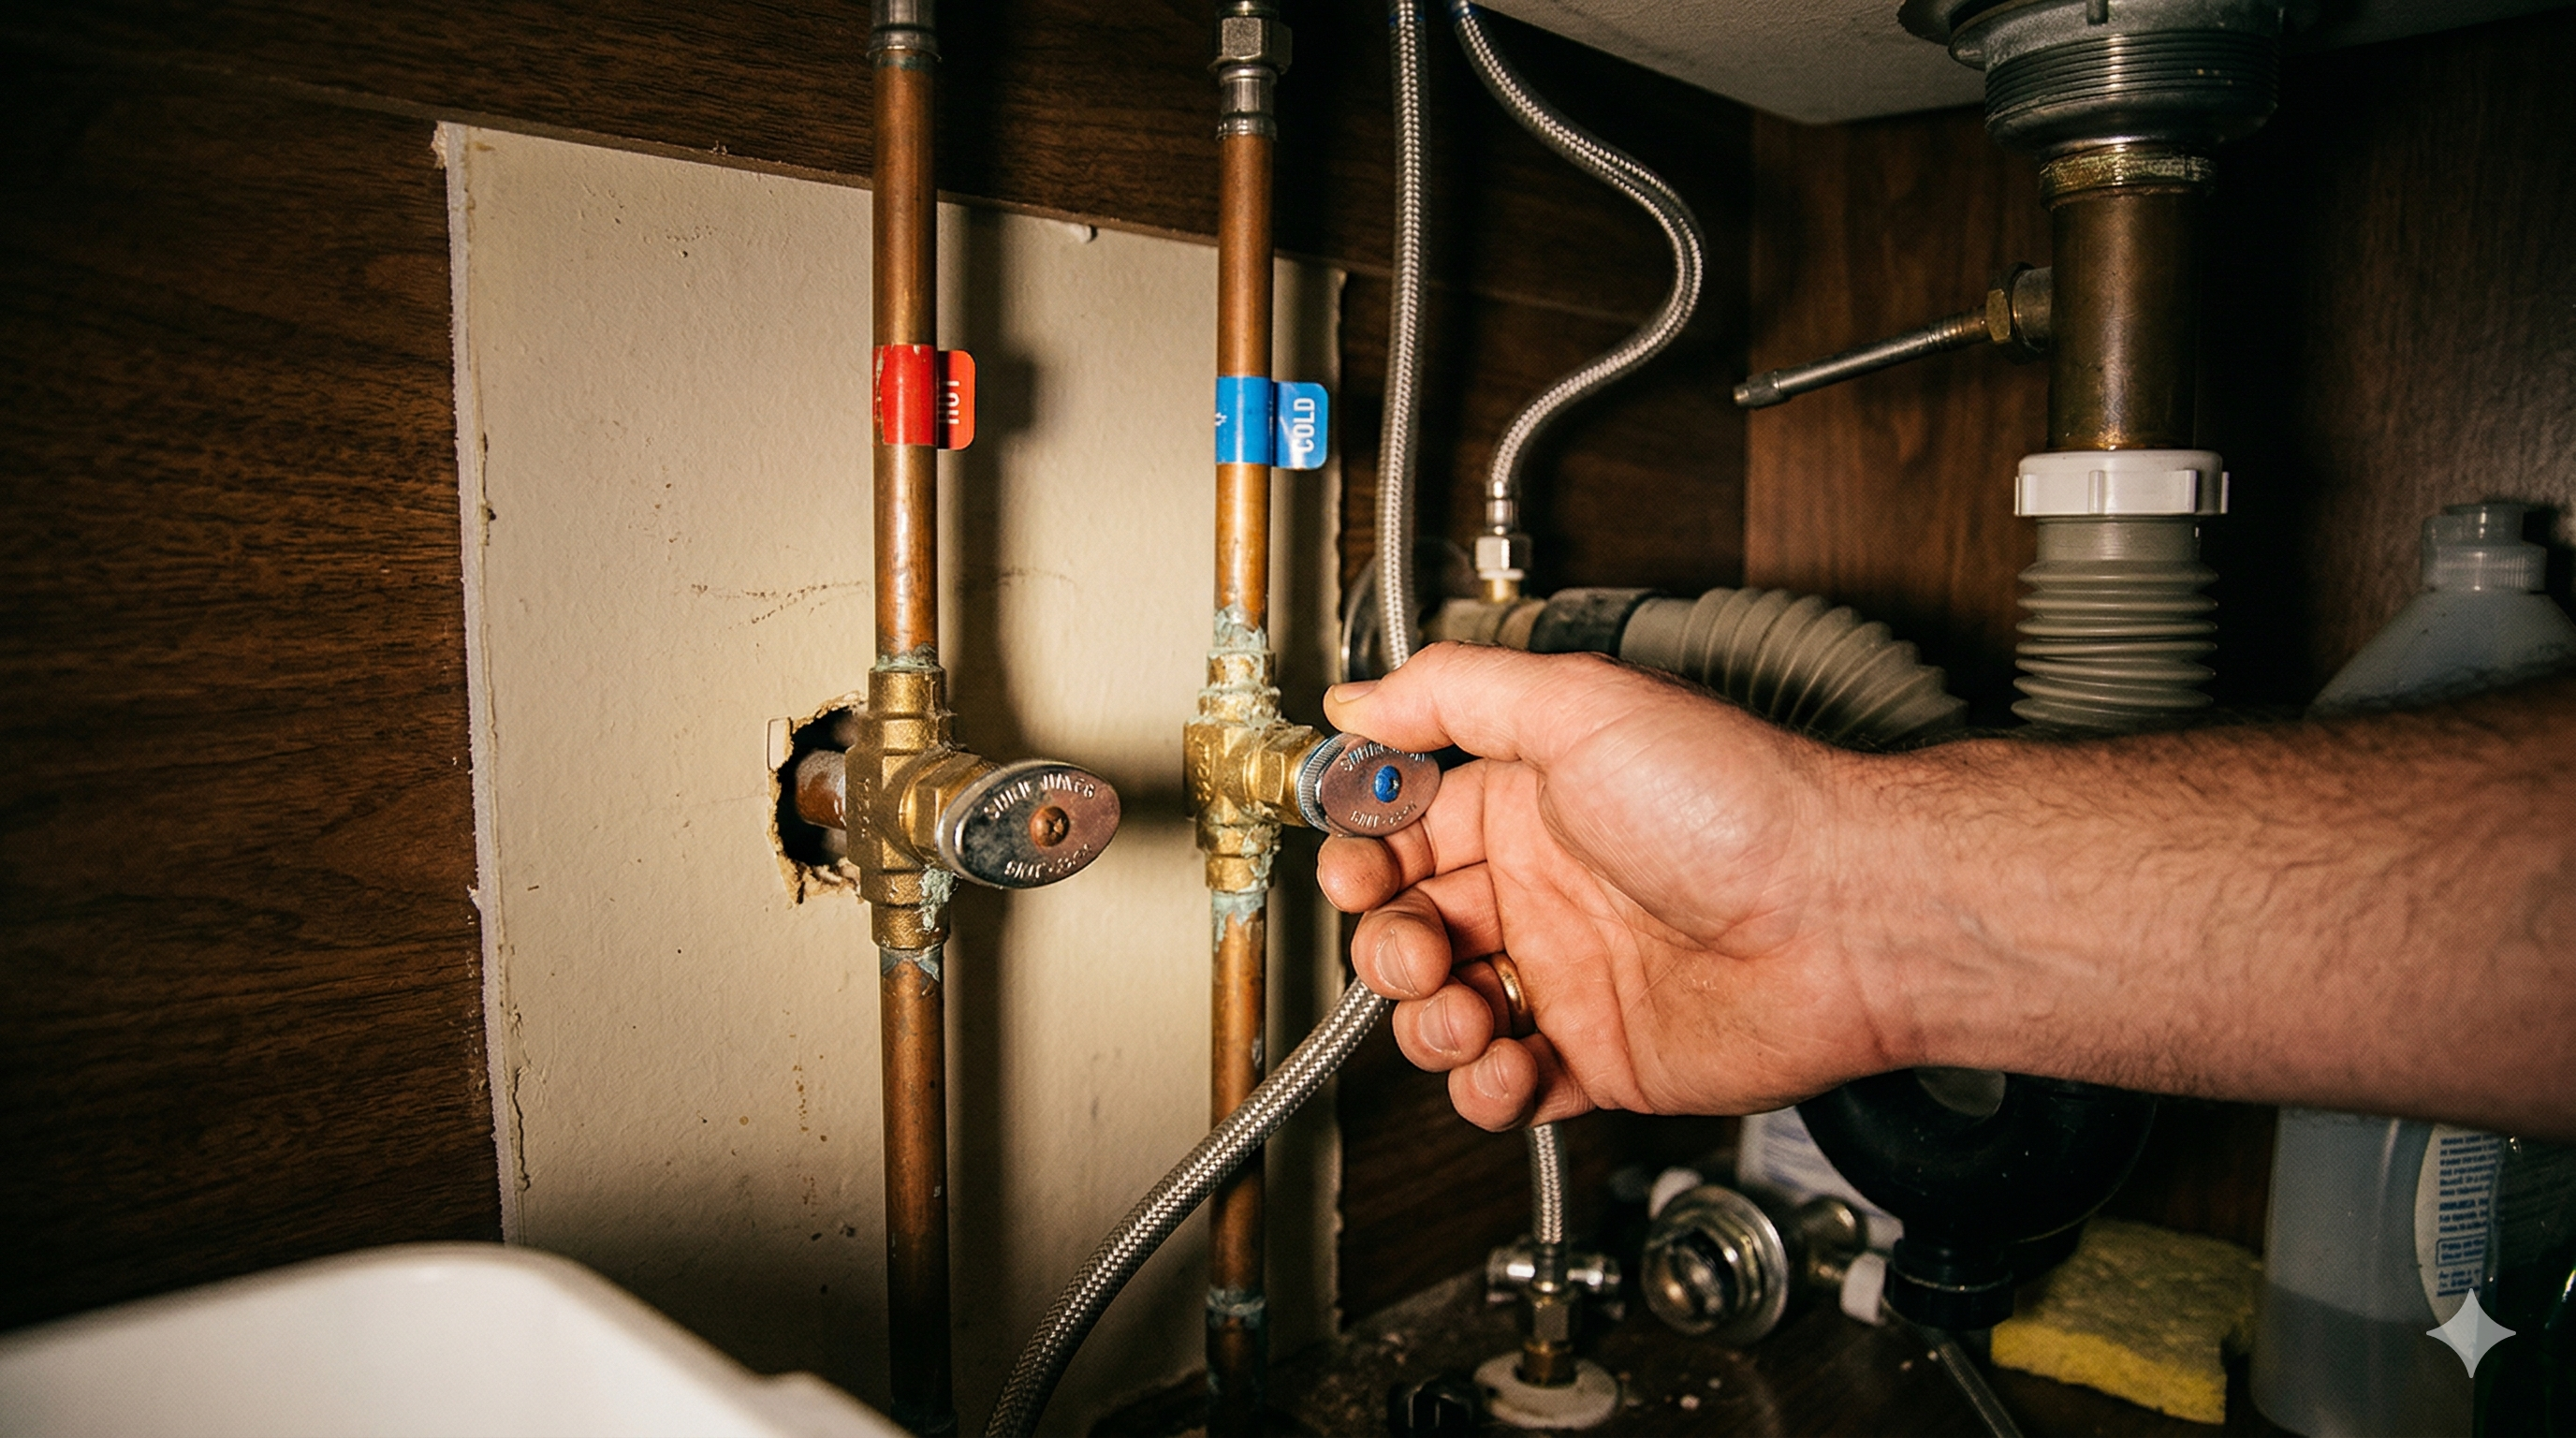
This sounds obvious, but I've watched someone skip this step and spray water all over their bathroom ceiling. Look under the sink for the shut-off valves — they're usually small oval-shaped handles on the supply lines coming out of the wall. Turn them clockwise until they stop. There should be one for hot and one for cold. Turn off both.
After you close the valves, turn the faucet on to release any remaining water pressure and drain whatever's left in the lines. Then plug the drain with a rag or the stopper so you don't lose any small screws or parts down the pipe. Trust me on this one — fishing a tiny set screw out of a P-trap is not how you want to spend your Saturday.
Fixing a Compression Faucet
Compression faucets are the most common type to develop a drip, and fortunately they're the easiest to fix. The leak is almost always caused by a worn-out rubber seat washer.
Start by removing the decorative handle cap — it usually pops off with a flat-head screwdriver or just pulls off. Underneath you'll find a screw. Remove it and pull the handle off. You might need to wiggle it a bit if it's stuck from mineral buildup.
With the handle off, you'll see the packing nut. Use your adjustable wrench to unscrew it counterclockwise. The stem will come out with it. At the very bottom of the stem, you'll see a rubber washer held in place by a brass screw. That washer is almost certainly your problem.
Take the old washer to the hardware store and find an exact match. They come in different sizes and shapes — flat versus beveled — and getting the right one matters. While you're there, pick up a new brass seat screw too, since they're only a few cents. Replace both, apply a thin layer of plumber's grease to the new washer, and reassemble everything in reverse order.
If the faucet still drips after replacing the washer, the valve seat itself might be damaged. The seat is the metal surface inside the faucet body that the washer presses against. You can either use a seat grinder tool to resurface it, or replace it entirely if it's the removable type. A seat wrench — which looks like an oversized Allen key — makes removal easy.
Fixing a Ball Faucet
Ball faucets have more moving parts than other types, which means more potential failure points. The good news is that you can buy a complete ball faucet repair kit for around ten to fifteen dollars that includes everything — springs, seats, O-rings, cam, and cam washer. I always recommend just replacing all of it at once rather than trying to diagnose the specific failed part.
To disassemble, use an Allen wrench to loosen the set screw under the handle. Remove the handle, then use adjustable pliers to unscrew the cap and collar. Lift out the cam, cam washer, and the ball itself. Inside the faucet body, you'll see rubber seats and springs sitting in small holes. Pull those out with needle-nose pliers.
Install the new springs and rubber seats from your repair kit, drop the new ball back in with the alignment pin matching the slot, and reassemble with the new cam and cam washer. The kit will include instructions for which direction things face — follow those exactly.
Pro Tip
Take a photo at each step of disassembly with your phone. When you're staring at a pile of small metal parts an hour later, that photo is worth its weight in gold. I do this for every plumbing repair now.
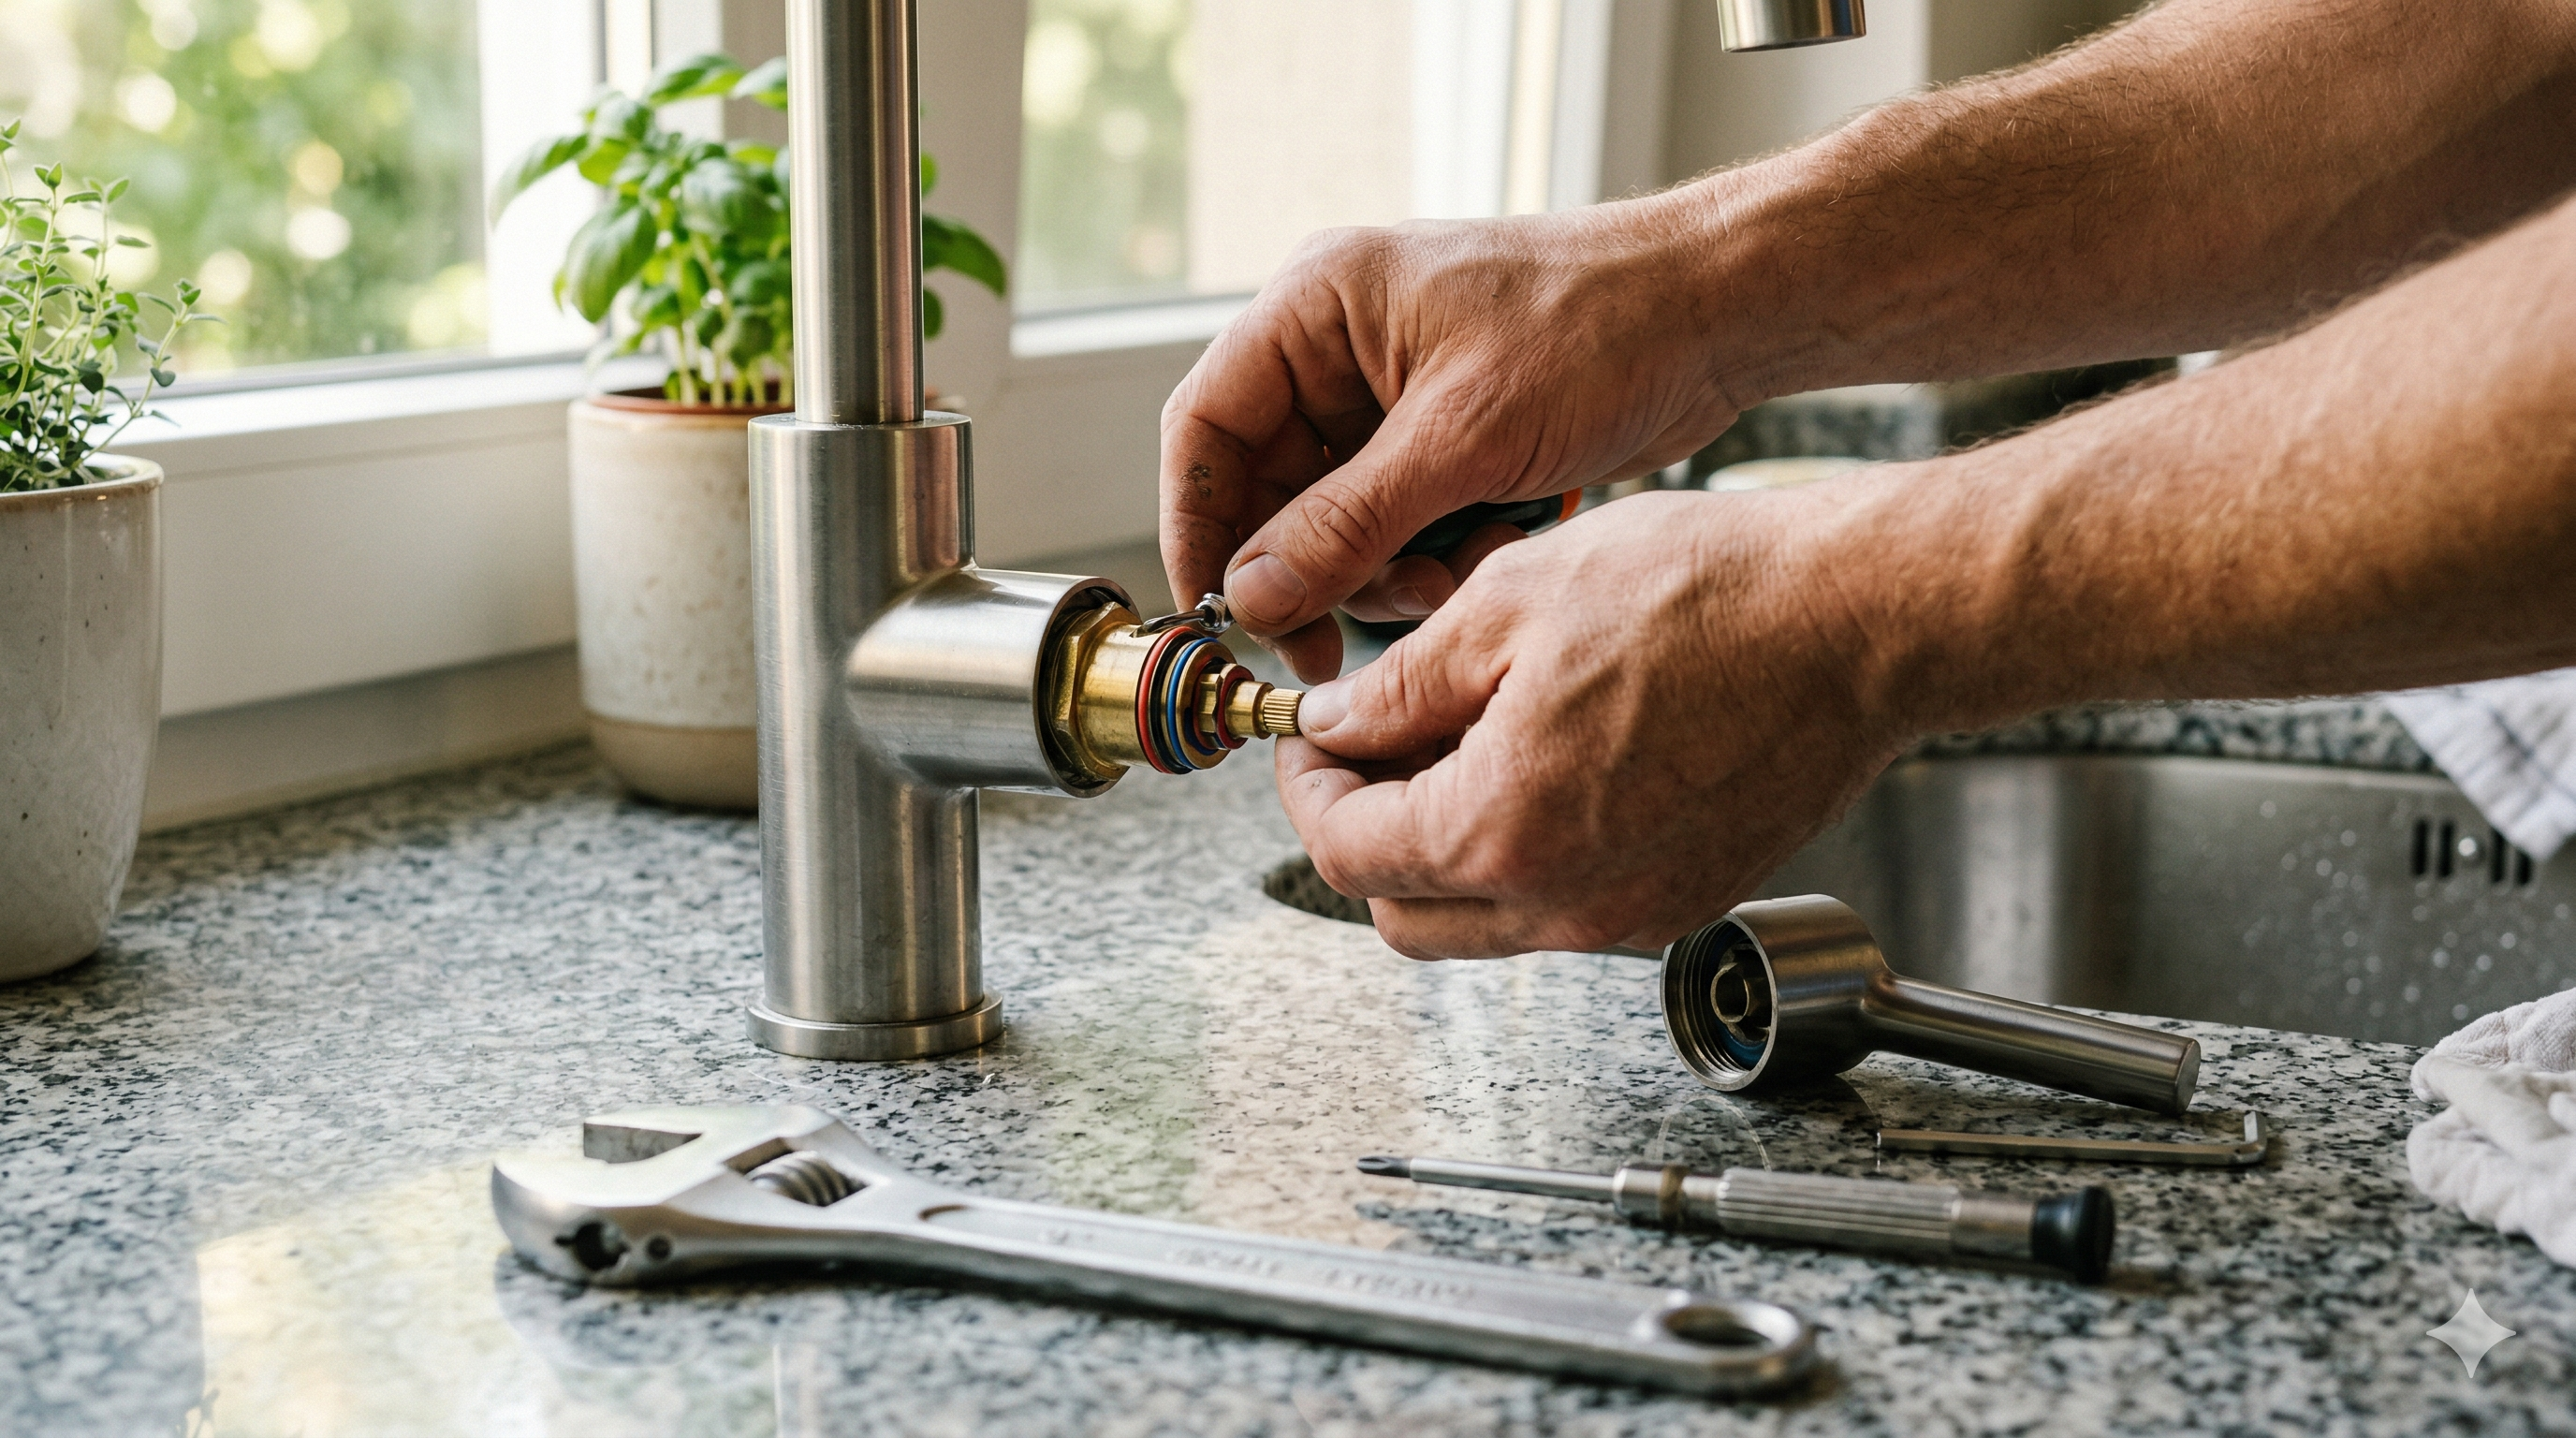
Fixing a Cartridge Faucet
Cartridge faucet repairs are usually the cleanest and most predictable. The leak is almost always caused by worn O-rings on the cartridge itself, or the cartridge has failed and needs replacement.
Remove the decorative cap and handle screw. Pull the handle off. You might see a retaining clip — a small U-shaped metal clip that holds the cartridge in place. Pull it out with pliers. Now grip the cartridge stem with pliers and pull it straight out. It might take some force if it's been in there a while. If it's really stuck, you can buy a cartridge puller tool for about ten bucks, or sometimes gently twisting while pulling does the trick.
Once the cartridge is out, inspect the O-rings. If they look cracked, flat, or worn, replace them. Coat the new O-rings with plumber's grease before sliding them on. If the cartridge body itself looks corroded or damaged, replace the whole thing. Take the old cartridge to the hardware store to get an exact match — cartridges are not interchangeable between brands or even between models from the same brand.
When you reinstall the cartridge, make sure it goes back in the same orientation. If you put it in backwards, your hot and cold will be reversed. Not dangerous, but annoying.
Fixing a Ceramic Disc Faucet
Ceramic disc faucets rarely leak, but when they do, it's usually because the neoprene seals under the disc cylinder have worn out, or sediment has built up on the disc surfaces.
Push the handle back to access the set screw underneath. Remove it and lift off the handle. Unscrew the escutcheon cap — the dome-shaped piece — to reveal the disc cylinder. It's held in place by two or three screws. Remove those and lift the cylinder out.
On the underside of the cylinder, you'll see the neoprene seals. Pry them out gently with a screwdriver. Clean the cylinder openings with white vinegar and a soft pad to remove any mineral deposits. Replace the seals with new ones, reassemble, and you're done.
Important: When you turn the water back on after fixing a ceramic disc faucet, do it very slowly. Open the handle to the fully on position first, then turn the supply valves on gradually. A sudden blast of water pressure can crack the ceramic discs, and those are the most expensive part to replace.
Leaking from the Base? Check the O-Rings
If your faucet is leaking from the base rather than the spout, the problem is usually worn O-rings on the faucet body itself, not the internal valve mechanism. This is common on kitchen faucets with a swiveling spout.
To fix this, you'll need to remove the spout. On most faucets, there's a collar nut at the base of the spout. Unscrew it with a wrench (wrap the jaws with tape to avoid scratching the finish), and the spout should lift off. You'll see one or two O-rings on the faucet body. Replace them with exact-size matches, coat them with plumber's grease, and slide the spout back on.
When to Call a Plumber Instead
Most faucet leaks are totally DIY-friendly. But there are a few situations where calling a professional makes sense:
- The shut-off valves under the sink won't close fully (you'll need those replaced first)
- You see corrosion or damage to the supply lines coming out of the wall
- The faucet body itself is cracked or corroded beyond repair
- You've replaced the parts and it's still leaking — there might be a deeper issue with the valve seat or faucet body
If you're deciding between a repair and a full faucet replacement, here's my general rule: if the faucet is more than fifteen years old and requires more than twenty dollars in parts, just replace the whole thing. A solid new kitchen faucet runs sixty to a hundred and fifty dollars, and installing one is a straightforward project that pairs well with a bathroom refresh weekend. Check out our guide on when to DIY vs. hire a plumber for more on making that call.
Reassembly Tips That'll Save You a Second Trip
After you've made the repair, reassemble everything carefully and turn the water back on slowly. Here are a few things I've learned the hard way:
- Don't overtighten the packing nut. Snug is enough. Cranking it down can make the handle stiff or crack the valve seat.
- Use plumber's grease on every O-ring and rubber part. It helps them seal properly and makes future disassembly easier.
- Run both hot and cold for a minute after reassembly to flush out any debris before regular use.
- Check under the sink after turning the water on. Sometimes the supply line connections loosen during the repair without you noticing.
A leaky faucet is one of those household problems that's easy to ignore — it's just a drip, right? But fixing it takes less time than most people think, costs almost nothing in parts, and the satisfaction of silencing that drip is genuinely one of the best feelings in homeownership. You've got this.