The clocks have changed and it’s time to think about preparing your home winter. Preparing your home for winter is crucial to protect your home from potential damage as well as save on energy costs. This guide is meant to help you prepare your home to keep it cozy, efficient, and safe all season long.
Exterior Inspection and Preparation

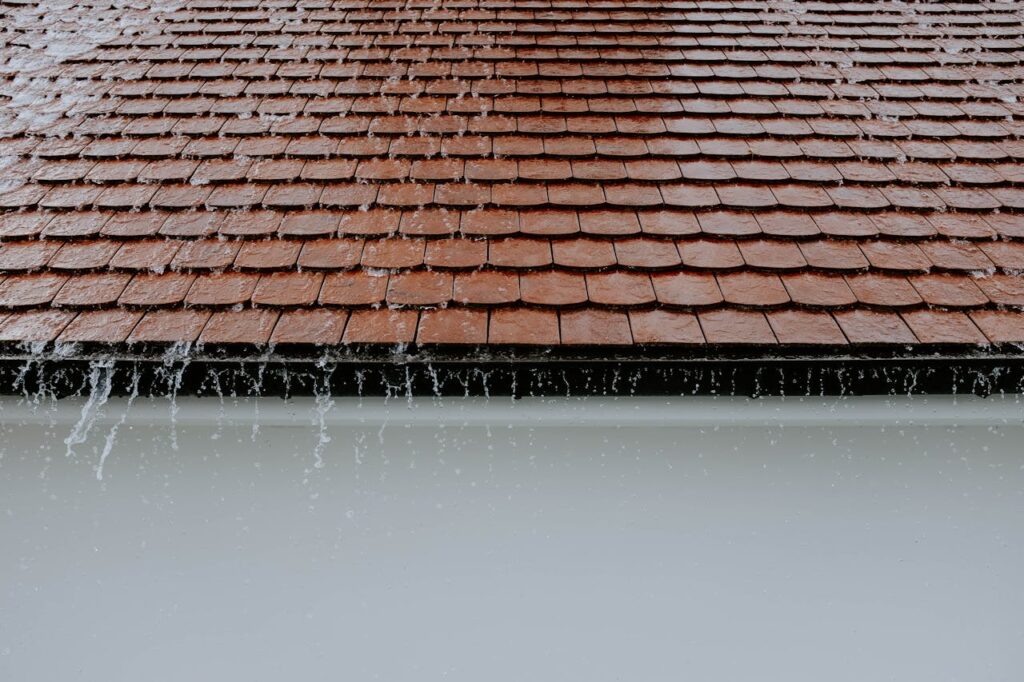
Clean the cutters
Leaves, dirt, and other debris can lead to clogged gutters. Clogged gutters prevent water from draining properly which when frozen can create thick bands of ice. These prevent the proper draining of water off the roof, which can lead to leaks and structural damage. After clearing the debris, run water through the gutters to ensure water flows freely without any blockages.
Once they’re clean, you may want to consider installing gutter guards. Gutter guards act like a filter, keeping out larger debris like leaves and twigs while still letting rainwater pass through. If you have a lot of trees near your home, gutter guards can be a game-changer, saving you from multiple cleanings throughout the season. While they won’t make your gutters maintenance-free, they’ll definitely cut down on the time and effort you spend keeping them clear.
Seal cracks and gaps
Sealing cracks and gaps around your home is one of the simplest and most effective ways to prevent cold air from coming into your home. Even small cracks can allow chilly air to seep in, making your home less comfortable and forcing your heating system to work harder. Spending a little effort now can make a big difference in how warm and energy-efficient your home stays all winter long.
Start by inspecting your home’s exterior. Pay close attention to areas around windows, doors, siding, and where pipes or wires enter the house. Cracks in the foundation or gaps where different materials meet are common culprits.
For outdoor applications, use exterior-grade caulk. Consider silicone caulk for areas that won’t require painting. Make sure to use a paintable typically acrylic latex caulk if you are planning to paint. Make sure to read the label to check the ideal temperature to apply, paint ready time, and cure time.
Protect outdoor faucets
Freezing temperatures can wreak havoc on your outdoor faucets and irrigation systems if they’re not properly winterized. Water left in hoses, pipes, or faucets can freeze, expand, and cause cracks or bursts, leading to costly repairs.
Start by disconnecting all garden hoses from outdoor faucets. Leaving hoses attached can trap water in the faucet and the connected pipes, increasing the risk of freezing. Once detached, drain any remaining water from the hoses and store them in a garage, shed, or basement to prevent cracking during cold weather.
If your home is equipped with a shut-off valve for outdoor faucets, turn it off and drain any remaining water from the pipes. Open the outdoor faucet to release any trapped water. Leaving the faucet open prevents pressure buildup in case any residual water freezes.
For added protection, cover each outdoor faucet with an insulated faucet cover. These covers are inexpensive, easy to install, and provide an extra barrier against freezing temperatures. Simply slip the cover over the faucet and secure it in place.
If you have an irrigation system, be sure to winterize the system. Shut off the water supply, drain the system, and blow out the lines using an air compressor.
Interior Inspection and Preparation

Check Insulation
Proper insulation is one of the most critical factors in keeping your home warm and energy-efficient during the winter. Without it, heat escapes, cold air seeps in, and your energy bills skyrocket. By taking the time to inspect and improve your home’s insulation, you’ll stay comfortable and save money.
Look for openings around vents, pipes, and chimneys. Seal these gaps with spray foam or caulk before adding insulation to prevent air leaks.
Seal and insulate doors and windows
Weatherstripping is a simple and cost-effective way to seal gaps around doors. Here’s how to apply it:
- Choose the Right Material: Foam tape, rubber strips, or adhesive-backed weatherstripping are common options. For a heavy-duty seal, consider silicone or metal weatherstripping.
- Clean the Surface: Wipe down the door frame to ensure the weatherstripping adheres properly.
- Measure and Cut: Cut the weatherstripping to fit the top, sides, and bottom of the door frame.
- Install: Peel off the adhesive backing (if applicable) and press the weatherstripping firmly into place.
For the door bottom, install a door sweep to block drafts from coming in underneath.
For windows, caulking is your best friend. Here’s how to seal them effectively:
- Inspect Existing Caulk: Remove old or cracked caulk with a scraper or putty knife.
- Choose the Right Caulk: Use silicone-based caulk for exterior windows and a paintable acrylic latex caulk for interior windows.
- Apply the Caulk: Use a caulk gun to run a smooth bead along the edges of the window frame, filling all gaps. Smooth the bead with your finger or a caulking tool.
- Let It Cure: Allow the caulk to dry completely, typically within 24 hours, depending on the type.
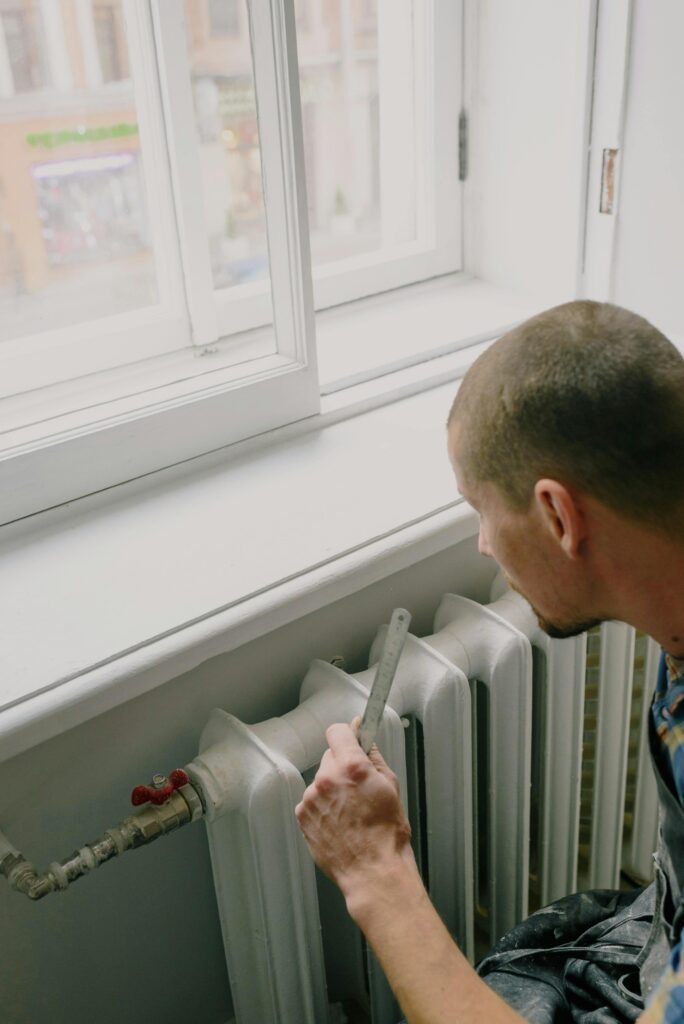
Service heating systems
A well-maintained system not only keeps your home warm but also operates more efficiently, saving you money on energy bills. Regular servicing can also help prevent costly breakdowns during the peak of winter when repair services are in high demand.
Start by replacing the filters. Dirty filters block airflow, making your system work harder to heat your home. This reduces efficiency and can cause unnecessary strain on the equipment. Most filters need replacement every 1-3 months. When installing a new filter, be sure you are orienting the filter correctly by noting the direction of airflow.
Next, inspect the thermostat. Test the thermostat by turning up the temperature a few degrees to ensure the heating system kicks on. If it doesn’t, check the thermostat’s batteries or recalibrate it. Consider upgrading to a programmable or smart thermostat for better control and energy savings.
Check vents and ducts. Blocked or leaky ducts and vents can reduce efficiency and leave some rooms colder than others. Walk through your home and make sure all vents are open and unobstructed by furniture or curtains. For ductwork, look for visible gaps or disconnected sections and seal them with metal tape (not duct tape) or consult a professional for repairs.
Be sure to clean the furnace. Dust and debris can accumulate inside the furnace, reducing its efficiency and potentially causing damage. Turn off the power to your furnace, open the access panels, and use a vacuum with a soft brush attachment to clean around the blower, motor, and burners. Be gentle to avoid damaging any components.
Check the pilot light. It should be steady and blue. A yellow or flickering flame may indicate a problem with the burner or a need for cleaning. Check the flame sensor, which periodically requires cleaning. This is more advanced and you may want to reach out to a professional.
Preparing your home for winter is essential to ensure your home stays warm, safe, and energy-efficient.
Looking for guides on how to prepare your lawn for end of summer and beginning of fall? Click here to read our End of Summer/Beginning of Fall Lawn Care Guide.
