Are you tired of staring at that unsightly dent or hole in your drywall? Are you in a rental and need to fix holes before moving out? Don’t worry, with a little know-how and some basic tools, you can easily patch up those imperfections and get your walls looking smooth and pristine. In this review, we’ll cover everything you need to know about mastering drywall repairs, from patching small holes to sanding and prepping for paint. Let’s dive in and learn how to patch drywall like a pro.
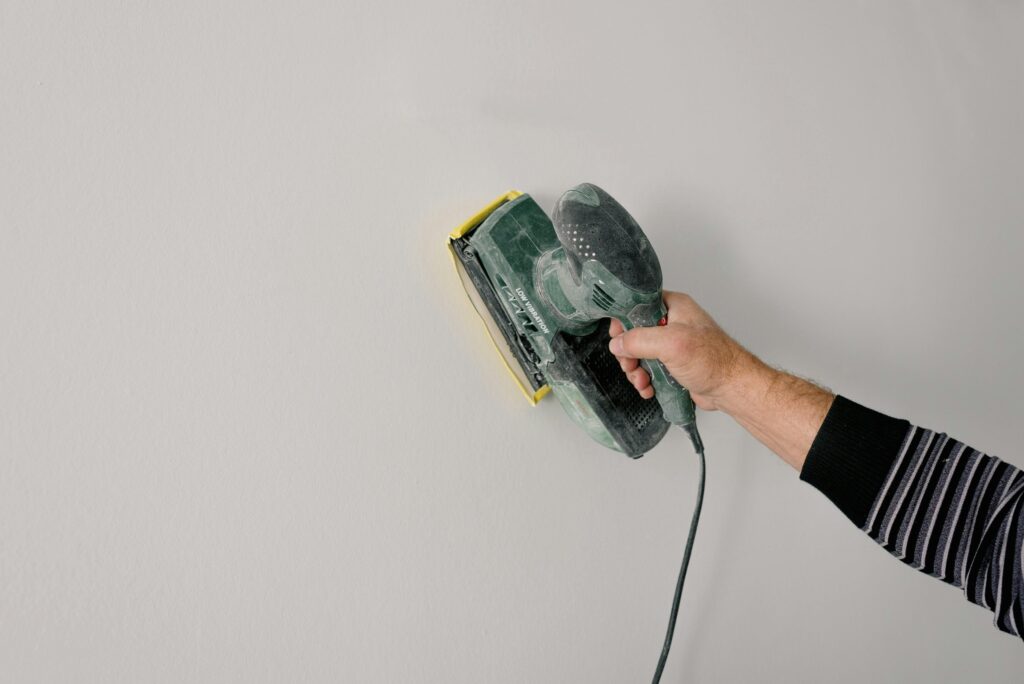
Introduction to Drywall Repair
Embarking on drywall repair might seem intimidating at first, especially if you’re unfamiliar with the various tools and materials involved. However, this guide is designed to simplify the process for you, breaking down repairs by the size of the damage – from minor nail or screw holes that require a bit of spackle to larger holes that might necessitate a new piece of drywall. Regardless of the scale of repair, the principles remain the same: assess the damage, gather the appropriate materials, and proceed with patience and precision.
Drywall, often referred to as sheetrock, is a common building material used in walls and ceilings. When it sustains damage, whether from everyday wear and tear or specific incidents, it’s essential to know how to address each type correctly. For smaller blemishes, a simple application of spackle or joint compound can make a significant difference. For more extensive damage, you may need to employ patch kits or even replace sections of the drywall to restore the surface’s integrity.
Understanding the differences between the materials involved, such as spackle versus joint compound, is crucial for a successful repair. Spackle is typically used for filling small holes and minor imperfections, whereas joint compound is better suited for larger repairs and finishing seams.
By familiarizing yourself with these basic concepts and repair strategies, you’ll gain the confidence to tackle any drywall repair task. This foundation will not only make the repair process more manageable but will also ensure that your walls return to a state of flawless smoothness, ready for whatever aesthetic touches you wish to add next.
Repairing Small Holes: Nail or Screw Holes

Addressing small holes, such as those left behind by nails or screws, is a straightforward repair that can be accomplished with minimal tools and materials. Start by selecting either spackle or joint compound for the task, depending on the size of the hole and the type of finish you desire. Spackle is ideal for quick fixes and smaller imperfections due to its easy application and drying properties, whereas joint compound may be chosen for slightly larger areas or for its smoother, more pliable consistency.
To begin the repair, ensure that the hole is clean and free from any debris or loose drywall. If necessary, lightly sand around the area for a clean surface to which the filler can adhere. Using a putty knife, apply your chosen material into the hole, pressing firmly to fill it entirely. It’s important to overfill the hole slightly, as both spackle and joint compound will shrink slightly as they dry.
After filling, use the flat edge of your putty knife to smooth the surface, blending the filler with the surrounding wall. Allow the material to dry thoroughly, according to the manufacturer’s instructions. This waiting period is crucial for a durable repair. Once dry, use fine-grit sandpaper to sand the area until it is flush with the wall. Achieving a smooth finish at this stage is essential for an invisible repair once painted.
For optimal results, remember to clean the area of any dust from sanding before moving on to priming and painting. This step ensures that the repair blends seamlessly with the rest of your wall, leaving no trace of the initial damage.
Medium Holes: When to Use a Patch Kit
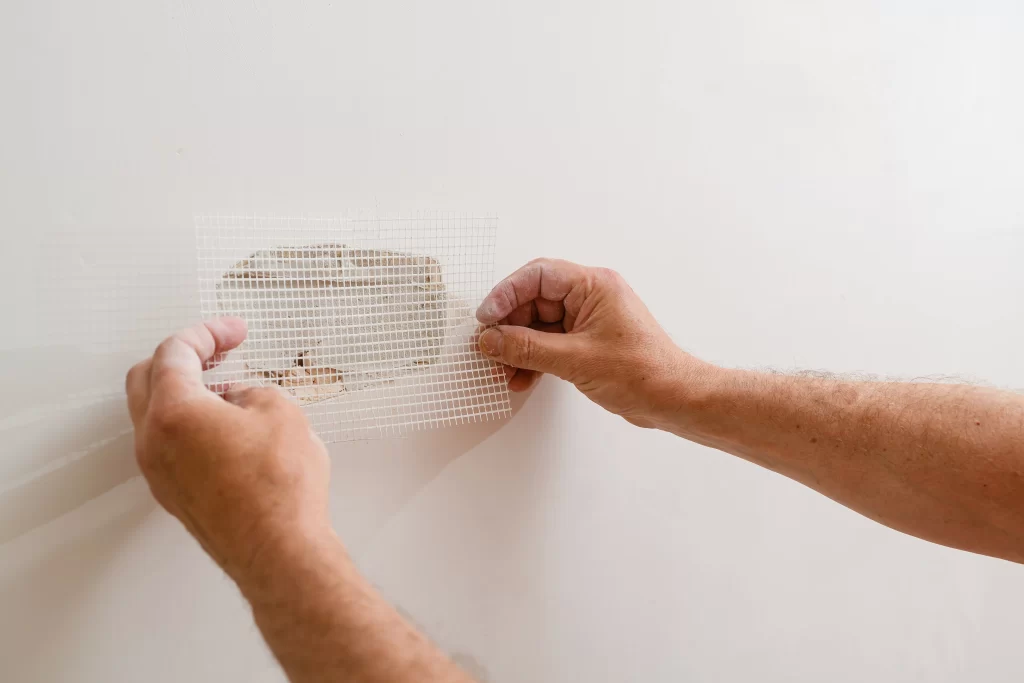
For holes too large to be effectively handled by spackle or joint compound alone—such as those exceeding the size of a small coin but not quite requiring a new drywall section—a dry wall repair kit is your go-to solution. These kits are specifically designed to bridge the gap between minor and major repairs, providing everything needed to ensure a sturdy, seamless fix.
Starting the process, clean the area around the hole to remove any dust or debris. This preparation is crucial for the patch to adhere properly. Next, if your kit includes a self-adhesive mesh patch, carefully apply it over the hole, ensuring it lies flat against the wall. This mesh acts as a scaffold for the joint compound, giving it something to hold onto and adding strength to the repair.
Apply a generous amount of joint compound over the patch, feathering it out toward the edges to blend with the existing wall texture. It’s essential to apply the compound as smoothly as possible to minimize sanding later on. Allow the compound to dry thoroughly, which may take several hours or as recommended by the product instructions.
Once dry, assess the surface. If there are any dips or unevenness, apply a second coat of joint compound. After it has dried completely, sand the area with fine-grit sandpaper until smooth. Remember to wear a mask during sanding to avoid inhaling dust and clean up the area afterward to ensure a dust-free surface for painting. This meticulous approach will guarantee that your wall looks uniform and that the patch remains invisible under paint.
Large Hole Repairs: Installing a New Piece of Drywall
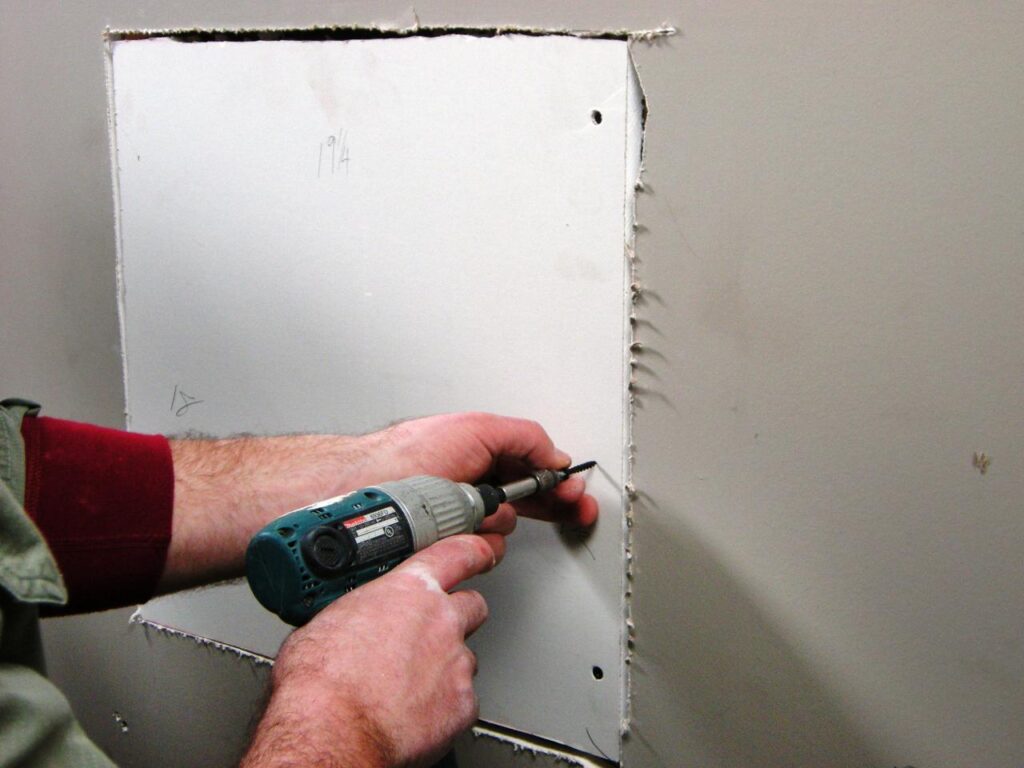
When dealing with a large hole that renders spackle or a simple patch kit ineffective, the introduction of a new piece of drywall becomes necessary. This procedure, while more complex, follows a set of straightforward steps to seamlessly incorporate the new section into your existing wall. Firstly, accurately measure the damaged area to determine the size of the new drywall piece needed. Using these measurements, cut a corresponding piece of drywall, ensuring a precise fit.
The next phase involves securing the new piece in place. This is typically done using drywall screws, carefully placed around the perimeter of the new piece to firmly anchor it to the surrounding studs or backing. Once secured, the seams where the new drywall meets the old surface need to be addressed to ensure a smooth, undetectable finish. Apply joint compound along these seams, pressing in drywall tape to reinforce the bond and create a flush surface.
Allowing the joint compound to dry completely is crucial before proceeding to the sanding stage. Once dry, sand the area thoroughly to eliminate any raised or uneven spots, aiming for a perfectly smooth transition between the old and new sections of drywall. This step might require a bit of patience and elbow grease, but it’s essential for achieving a professional-looking repair.
By carefully following these steps, the repair will integrate seamlessly with the rest of the wall, ready for priming and painting to match the surrounding area. This method, although requiring a bit more effort, restores the structural integrity and aesthetic appeal of your walls.
Understanding Sheetrock, Spackle, and Joint Compound
Sheetrock is a brand name that has become synonymous with drywall, the primary construction material used to create walls and ceilings in modern buildings. It consists of gypsum plaster pressed between two thick sheets of paper, offering a flat, smooth surface for painting or wallpapering. On the other hand, spackle and joint compound are materials used for repairing and finishing drywall surfaces. While they may seem similar at first glance, they serve slightly different purposes in the world of drywall repair.
Spackle is a ready-to-use compound designed for filling small holes, cracks, and minor imperfections on drywall surfaces. It’s favored for its quick-drying properties and ease of application, making it ideal for small, quick repairs. The formulation of spackle allows it to dry quickly and shrink minimally, reducing the wait time between application and sanding.
Joint compound, also known as mud, comes in various consistencies and is used to finish drywall joints, patch large holes, and smooth out surface imperfections. It’s more versatile than spackle but requires a bit more skill to apply smoothly. Joint compound needs to be mixed to the right consistency and typically takes longer to dry, which can be a factor when planning repair projects. It’s also used in conjunction with drywall tape to create strong, seamless joints between sheets of drywall.
Both spackle and joint compound are indispensable for achieving a smooth, finished look on drywall repairs, but selecting the right one for the job is key to a successful outcome.
The Convenience of Color Changing Spackle
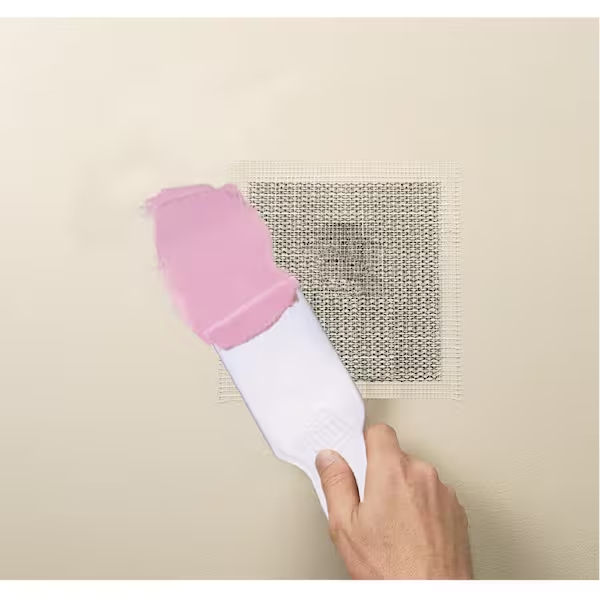
One of the most innovative developments in the realm of drywall repair is the introduction of color changing spackle. This ingenious product eliminates the guesswork involved in determining when the spackle has fully dried and is ready for the next step of the repair process. Upon application, this spackle appears a distinct color, making it easily visible against the wall. As it dries, it undergoes a noticeable color transformation, signaling that it’s time to proceed with sanding. This feature is particularly useful for those who may not have extensive experience in drywall repairs, as it visually guides them through the repair timeline, ensuring that sanding or additional steps are not prematurely undertaken. The time saved waiting for uncertain dry times is instead directed towards achieving a smoother, more polished finish. Moreover, this color-shifting capability can contribute to a more efficient repair process, streamlining the transition between patching, sanding, and priming stages. In essence, color changing spackle is not just a convenience but a tool that enhances the quality and efficiency of drywall repairs.
Sanding Techniques for a Smooth Finish

Achieving a perfectly smooth finish on your drywall repairs requires careful sanding techniques. Begin by selecting the appropriate grit of sandpaper; a fine-grit sandpaper is usually ideal for drywall repairs as it’s less likely to gouge or scratch the surface. Attach the sandpaper to a sanding block or use a hand sander for larger areas, as this will help you maintain an even pressure and avoid creating indentations or uneven spots on the wall.
When sanding, it’s crucial to wear a protective mask to prevent inhaling drywall dust, which can be harmful to your lungs. Additionally, ensure the room is well-ventilated to minimize dust accumulation. Begin sanding in a circular motion, applying gentle pressure to smooth out the patched area. It’s important to frequently check the smoothness of the area by lightly running your hand over the surface. If you feel any bumps or ridges, continue sanding until the area feels uniformly smooth to the touch.
As you sand, you may notice dust building up on the wall and surrounding surfaces. Periodically wipe down the area with a clean, dry cloth to remove this dust. This step is not only about cleanliness but also allows you to see your progress more clearly and ensures you don’t miss any spots that may need additional sanding. By following these sanding techniques, you’ll create a flawless base that’s ready for priming and painting, ensuring your drywall repair is undetectable once the project is complete.
The Importance of Primer Before Painting
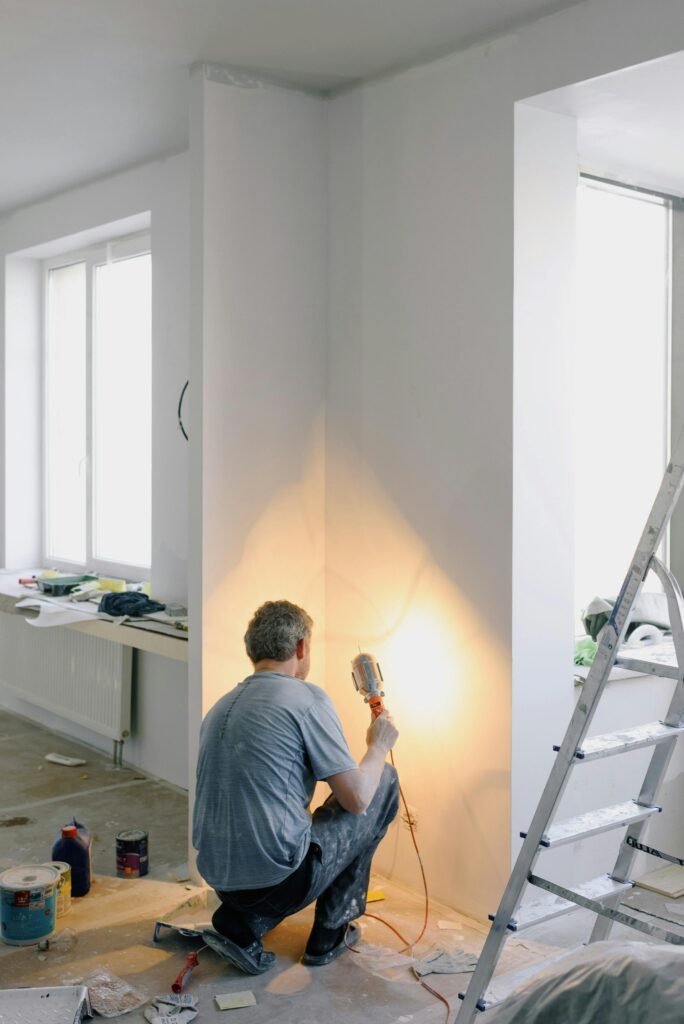
Applying a quality primer is a critical step in the drywall repair process, serving as a bridge between your meticulous repair work and the final paint application. A primer’s primary role is to create a uniform, adhesive surface that ensures the paint not only sticks better but also presents a consistent color and sheen across the entire wall. This is particularly important when covering patched areas, which may absorb paint differently than the surrounding wall if left unprimed. By incorporating this step, you’re not just preparing the surface for painting; you’re also enhancing the durability of your repair and the overall aesthetics of your finish. Ensure the primer has thoroughly dried according to the product’s instructions before proceeding with painting. This adherence to process guarantees that your repair blends seamlessly into the rest of your wall, achieving a professional-quality result that stands the test of time.
